이전 글에서 Flipbook 형태로 되어있는 텍스쳐를 사용하여 애니메이션을 만들어 보았다. 이 작업을 스크립트를 사용하여 자동화 해보았다.
[Blender] 블렌더에서 플립북 텍스쳐(FlipBook Texture) 사용하기
텍스쳐를 이것 저것 사용하고 찾다보면 가끔 한 장의 텍스쳐에 바둑판 형식으로 여러 개의 그림이 그려져 있는 것을 볼 수 있다. 주로 불이나 연기 표현에서 사용한 경험이 있다.유니티에서는
lightbakery.tistory.com
개요
glb 파일로 이펙트를 export 하는 방법 중 하나는 Flipbook 형태로 이루어져있는 Texture를 이용하는 것이다. 하나의 Texture 이미지 안에 순차적인 움직임이 들어있는 이미지를 각각의 Plane에 적용하여 연속된 하나의 애니메이션으로 표현할 수 있는 것이다.
이 과정에서 각각의 Plane을 생성하여 UV 좌표를 수동으로 수정하는 것에 대한 시간과 노력을 줄이기 위해서 자동화된 스크립트를 시도하게 되었다.


UV Offset 스크립트
import bpy
from mathutils import Vector

column = 16
row = 4

#Switch column and row offsets
offset = Vector((1/column, 0))
#offset = Vector((0, 1/row))

# Get object and UV map given the selected object
def GetSelectedObjectAndUVMap(uvMapName):
    try:
        # Get the active object from selection
        obj = bpy.context.active_object

        if obj and obj.type == 'MESH':
            uvMap = obj.data.uv_layers[uvMapName]
            return obj, uvMap
    except:
        pass

    return None, None

# Add offset to the UV map
def OffsetUV(uvMap, offset):
    for uvIndex in range(len(uvMap.data)):
        # Add the offset to the UV
        uvMap.data[uvIndex].uv += offset
        print(f"UV {uvIndex} after offset: {uvMap.data[uvIndex].uv}")

# Main function to create planes and adjust UVs
def main():
    # UV data are not accessible in edit mode
    bpy.ops.object.mode_set(mode='EDIT')
    bpy.ops.object.mode_set(mode='OBJECT')

    # The name of the UV map
    uvMapName = 'UVMap'  # Replace with your UV map name

    # Get the active selected object and its UV map
    obj, uvMap = GetSelectedObjectAndUVMap(uvMapName)

    if obj is None or uvMap is None:
        print("No valid mesh object or UV map found.")
        return

    # Create a new duplicate of the selected object
    #bpy.ops.object.select_all(action='DESELECT')
    #obj.select_set(True)
    bpy.ops.object.duplicate_move(OBJECT_OT_duplicate={"linked": False, "mode": 'TRANSLATION'})
    new_obj = bpy.context.active_object

    # Add the offset to the new duplicated object’s UV map
    OffsetUV(new_obj.data.uv_layers.active, offset)

    bpy.ops.object.mode_set(mode='EDIT')
    bpy.ops.object.mode_set(mode='OBJECT')

if __name__ == "__main__":
    main()
결론적으로는 완전 자동화된 스크립트를 구현하지 못했다. 복제된 Plane이 이전 UV 데이터를 따라가서 스크립트 실행 후 모든 Plane이 같은 UV를 가지고 있는 형식으로 결과가 나왔기 때문.
위의 스크립트는 한 번 실행 시 하나의 Plane을 복제하여 UV를 한 칸 옮기는 스크립트이다. 따라서 UV에 들어있는 이펙트의 개수만큼 실행을 해야한다.
사용 방법
- Plane을 하나 생성하여 잘 볼 수 있도록 X축 기준 90도 회전했다.

- Material과 Flipbook 텍스쳐를 적용한다. BaseColor와 Alpha를 잘 연결하고 Material 속성에서 [Alpha Blend] 설정.
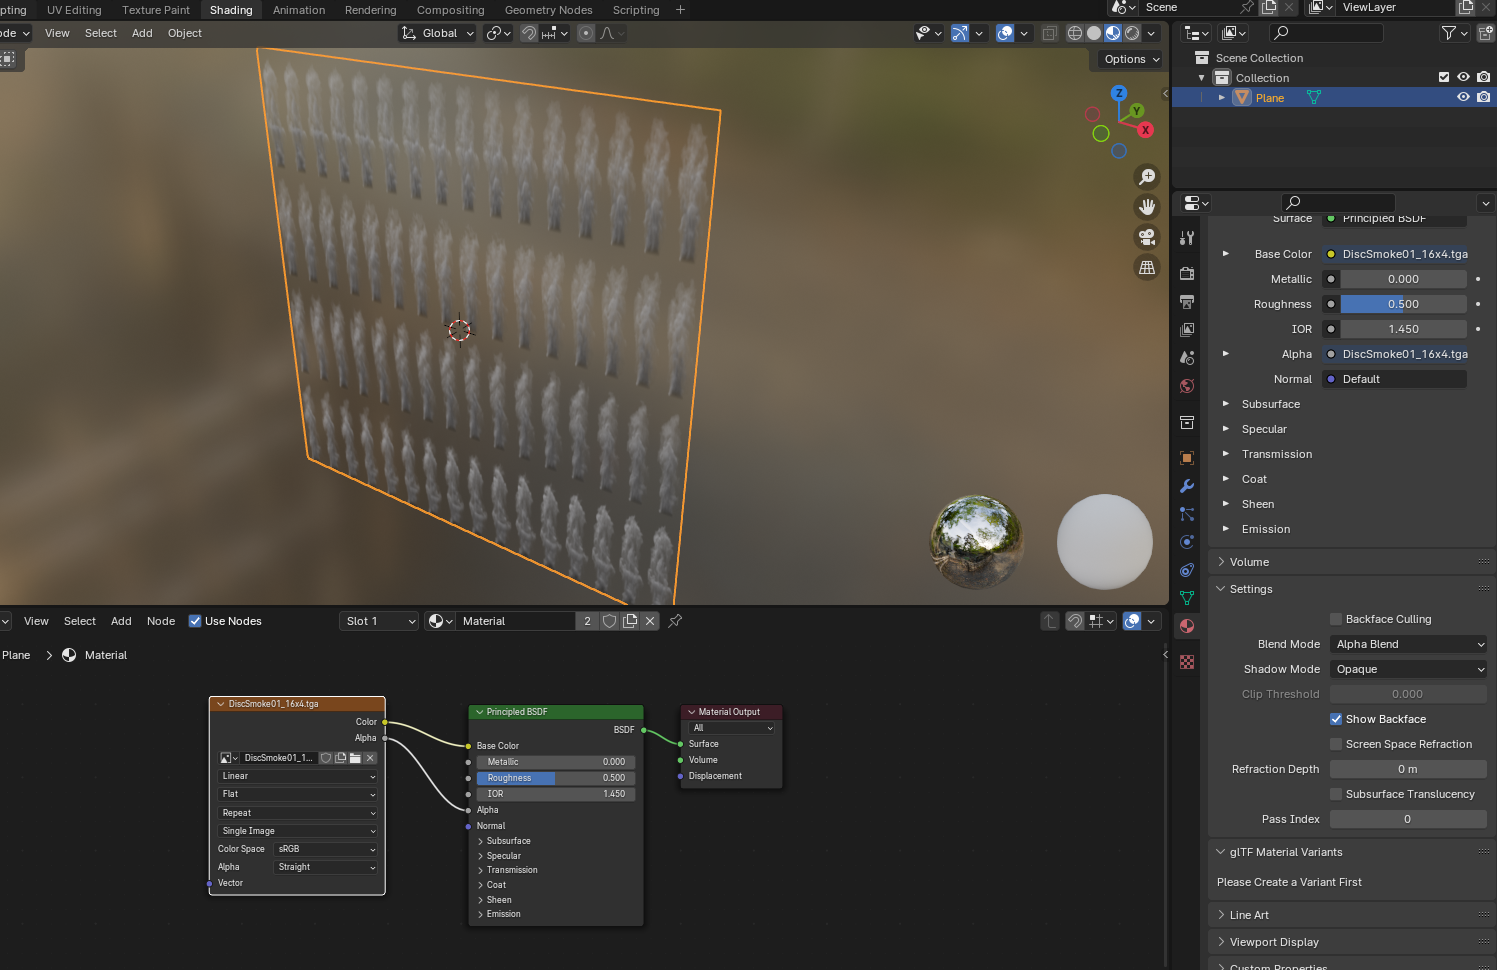
- UV Editing 모드에서 Text Editor 창을 열어서 스크립트를 넣는다. 이 때, Plane의 UV는 텍스쳐 전체를 덮고 있어야 한다. 가끔 UV unwrap을 하면 텍스쳐의 일부만 덮는 경우가 있는데, 이 경우에는 Unwrap 후 [Correct Aspect]를 체크 해제하면 된다.


- 첫 Plane에 대한 UV 스케일을 맞춘다.
16x4 텍스쳐 기준
Scale X = 1/16
Scale Y = 1/4

- 첫 Plane에 대한 UV 좌표를 맞춘다.
16x4 텍스쳐 기준, 왼쪽 위 애니메이션 시작 기준
X = 1/32
Y = 1/8*7
(8로 나누고 7을 곱하는 이유는 아래 그림과 같다. UV의 Center Pivot이 해당 줄에 위치해야 하기 때문. x를 32로 나누는 이유도 Center Pivot 때문)

- 기준 Plane을 복제한다.

- 스크립트를 Column수 - 1 만큼 실행한다.(실행 버튼을 15번 누른다.)

- 맨 마지막 Mesh가 겹쳐있기 때문에 맨 마지막 Mesh를 지운다.


- 기준이 되는 가장 처음 Plane을 다시 복제한다.
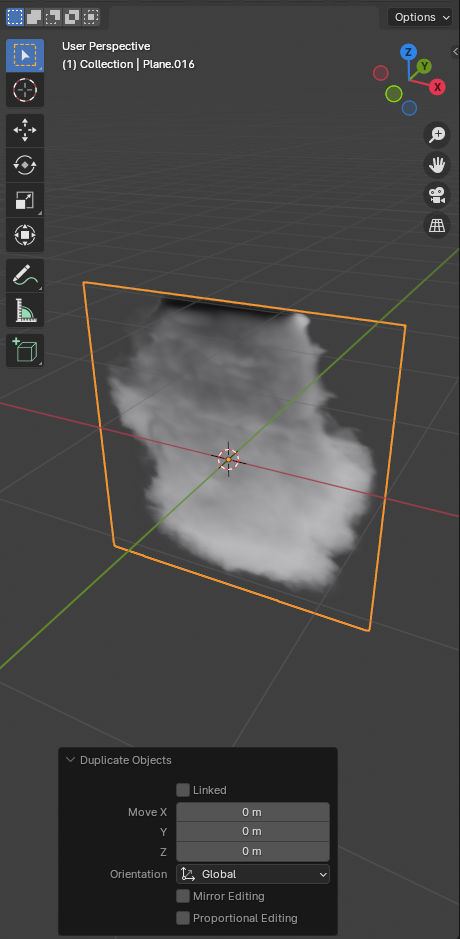
- 스크립트 8번째 줄은 주석처리, 9번째 줄을 활성화 후 스크립트를 실행하여 행을 바꾼다.
#Switch column and row offsets
#offset = Vector((1/column, 0))
offset = Vector((0, -1/row)) #UV의 아래방향으로 가기 위해서 마이너스

- 이번에는 Plane을 복제하지 않고 그대로 8번째 줄을 활성화 하여 Column - 1 수만큼 스크립트를 실행한다.(15번 실행)
#Switch column and row offsets
offset = Vector((1/column, 0))
#offset = Vector((0, -1/row))
- 마찬가지로 맨 마지막 Mesh는 지운다.

- 두 번째 줄의 맨 앞 Mesh를 복제하여 다시 행을 바꾸고 반복한다.
#Switch column and row offsets
#offset = Vector((1/column, 0))
offset = Vector((0, -1/row)) #UV의 아래방향으로 가기 위해서 마이너스
#Switch column and row offsets
offset = Vector((1/column, 0))
#offset = Vector((0, -1/row))
- 잘 수행했다면 Flipbook 텍스쳐 전체를 덮는 모든 Plane을 볼 수 있다.

Particle System 생성 스크립트
각 Plane이 하나의 텍스쳐 Motion을 가지고 있다면 이제 이 Plane들을 한 프레임마다 하나씩 보여지게 해서 연속된 애니메이션으로 만들어야 한다. Particle System을 사용하면 매 프레임마다 Plane을 하나씩 생성시켜서 목적을 달성할 수 있다.
import bpy

# Number of particle systems you want to create
num_particle_systems = 64

# Object names to be used as the instance for each particle system
instance_objects = [f"Plane{'' if i == 0 else f'.{str(i).zfill(3)}'}" for i in range(num_particle_systems)]

# Get the selected object (or replace with the name of the object manually)
obj = bpy.context.active_object

# Main function to add particle systems
def create_particle_systems(obj, num_systems):
    for i in range(num_systems):
        # Create a new particle system
        particle_sys = obj.modifiers.new(name=f"ParticleSystem_{i+1}", type='PARTICLE_SYSTEM')
        psys = obj.particle_systems[-1]

        # Set the particle system's settings
        psettings = psys.settings
        psettings.count = 1  # Number of particles
        psettings.frame_start = i + 1  # Frame start increases
        psettings.frame_end = i + 1  # Frame end equals frame start
        psettings.lifetime = 1  # Particle lifetime set to 1
        psettings.emit_from = 'FACE'  # Emit from faces
        psettings.use_emit_random = False  # Emit from exactly one face
        psettings.userjit = 1
        psettings.normal_factor = 0  # Set velocity normal to 0
        psettings.render_type = 'OBJECT'  # Render as object
        psettings.instance_object = bpy.data.objects.get(instance_objects[i])  # Set the instance object
        psettings.particle_size = 1.0  # Set render scale to 1.0
        psettings.use_rotation_instance = True  # Use object rotation
        psettings.effector_weights.gravity = 0  # Disable gravity

# Run the function
create_particle_systems(obj, num_particle_systems)

print(f"Created {num_particle_systems} particle systems on {obj.name}")
가장 위 num_particle_systems의 변수에는 Filpbook에 있는 이미지 개수를 넣는다. 16x4 텍스쳐 기준으로 64를 입력한다. 각 이미지를 가지고 있는 Plane을 배열로 저장하고, Particle System을 생성하여 설정을 세팅한다.
여기서 Plane의 이름은 가장 처음의 “Plane”을 포함하여 이후로 “Plane.001”, “Plane.002”, “Plane.003”… 의 규칙성을 가져야 한다. 이름으로 배열을 저장하기 때문.
사용 방법
- 파티클 시스템을 적용할 오브젝트를 하나 생성한다. (예시로 Plane을 하나 생성하여 이름은 “Emitter”로 바꾸었다. 구분하기 쉽게 Collection 바깥에 위치시켰다.)
- 스크립트 최상단에 num_particle_systems 변수에 Flipbook 이미지 개수를 설정한다.
# Number of particle systems you want to create
num_particle_systems = 64
- Emitter가 될 오브젝트를 선택한 후 스크립트를 실행한다.

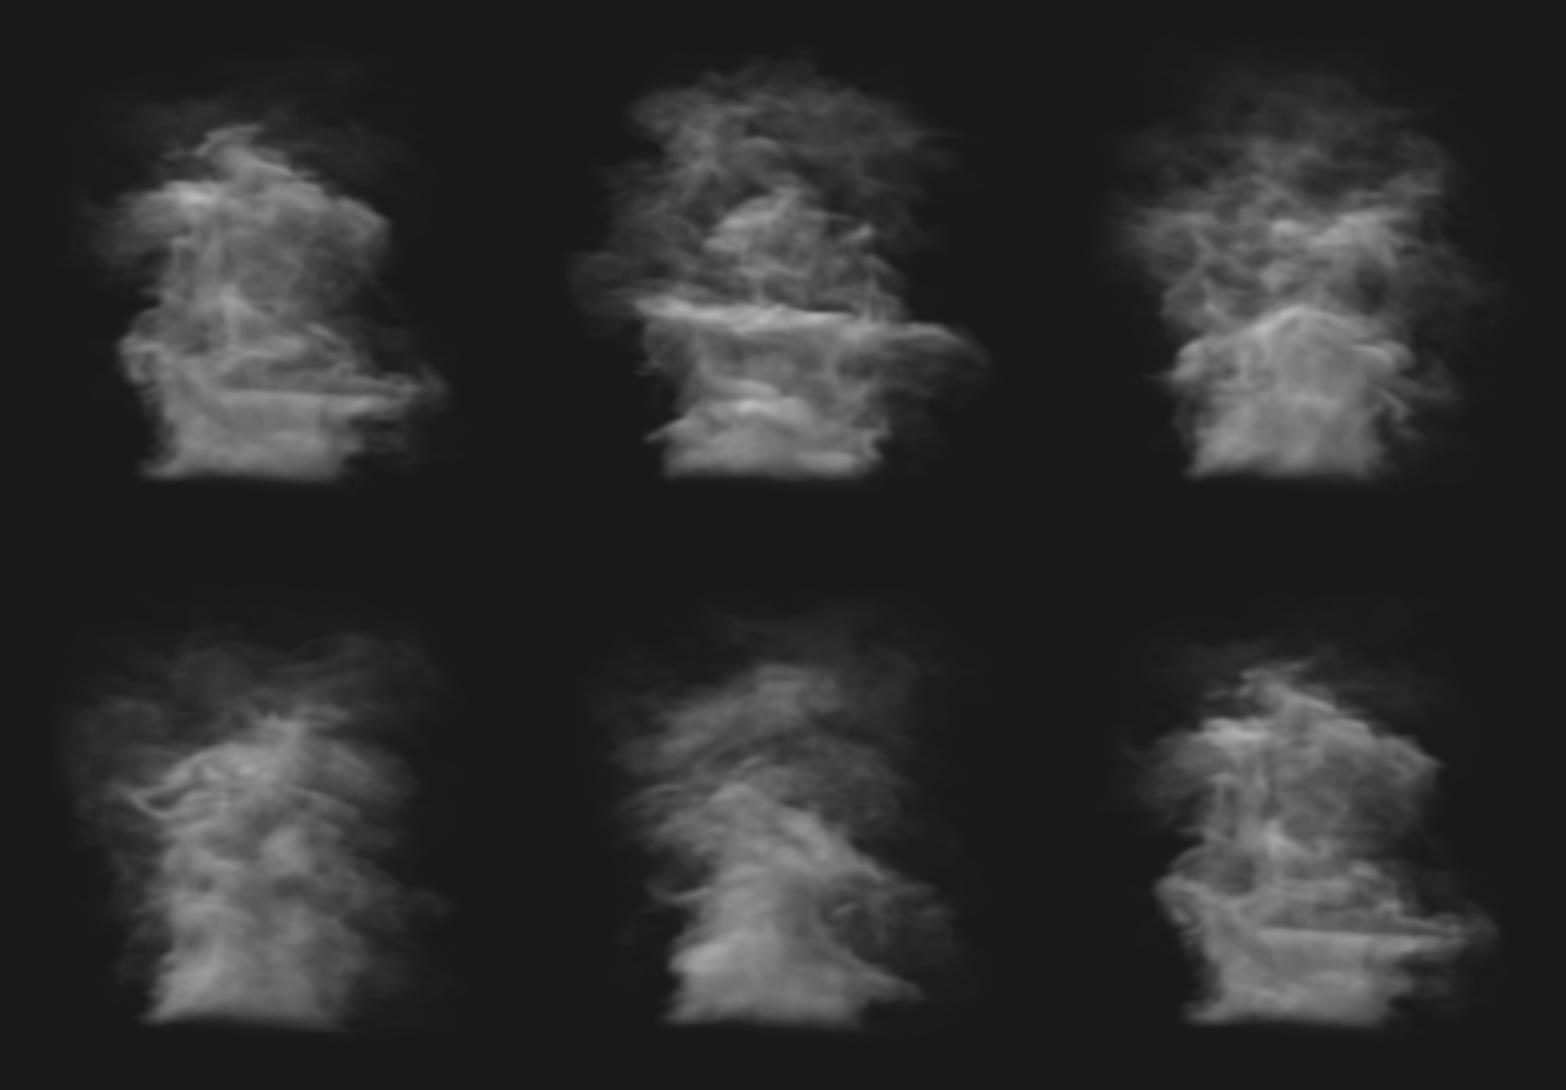
- Timeline의 마지막 프레임을 마지막 파티클의 수로 설정 후 실행하면 이미지 애니메이션이 자연스럽게 움직이는 것을 볼 수 있다!

glb 포맷으로 Export
이후 해당 Flipbook 애니메이션을 glb로 추출하는 방법은 아래의 글에서 찾아볼 수 있는데 부족한 부분도 많고 확실하게 정리하기 위해서 export 하는 방법을 아래에 다시 기술해야겠다.
[Blender] 파티클을 glb/gltf로 export 하기
블렌더에는 파티클 시스템이 있다. Emitter를 이용해서 많은 파티클을 뿜어낼 수 있다.길을 따라서 연기가 나는 파티클을 웹에서 구현하고자 여러 방법을 찾아보았다. glb/gltf는 파티클을 직접 받
lightbakery.tistory.com
테스트 결과 플립북 텍스쳐, 시퀀스 텍스쳐가 GLB 포맷에서 잘 작동하기 위해서는 옛날 버전의 Govie Tools가 필요한 것을 알아냈다. Blender 버전은 3.6 버전
Govie Tools를 받았다면 단축키 ‘N’을 눌렀을 때 우측 탭에서 볼 수 있다.
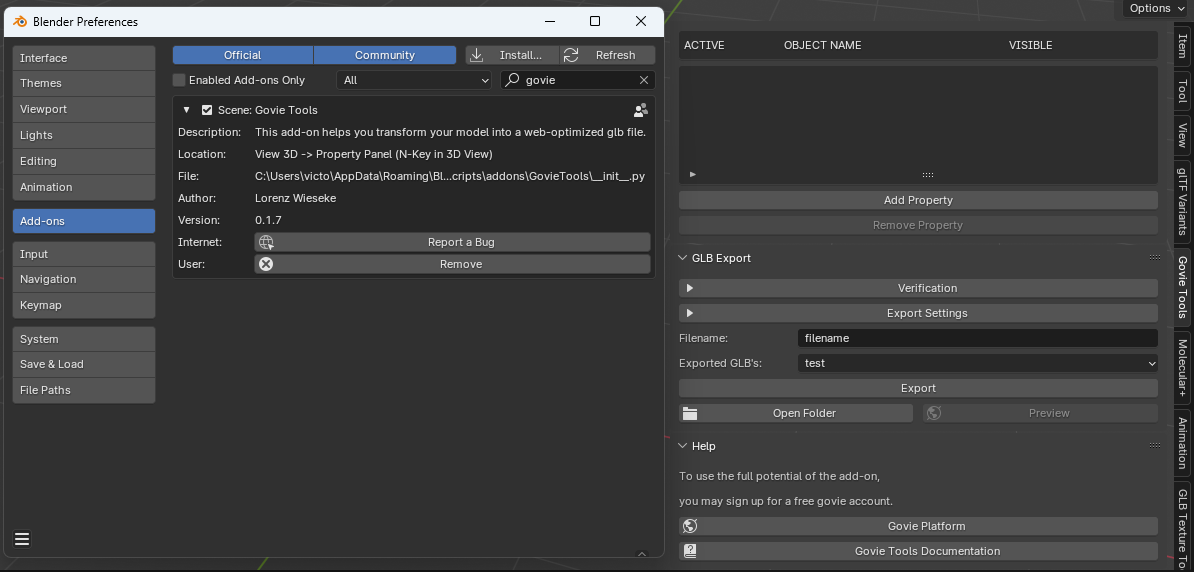
Particle Systems가 들어있는 Emitter를 누른 후 Key Visibility를 체크하고 Collection 이름을 설정한 후 [Bake Particles]를 눌러 애니메이션을 Bake 한다.

Bake 된 오브젝트를 모두 선택 한 후 Graph Editor 창으로 이동한다.

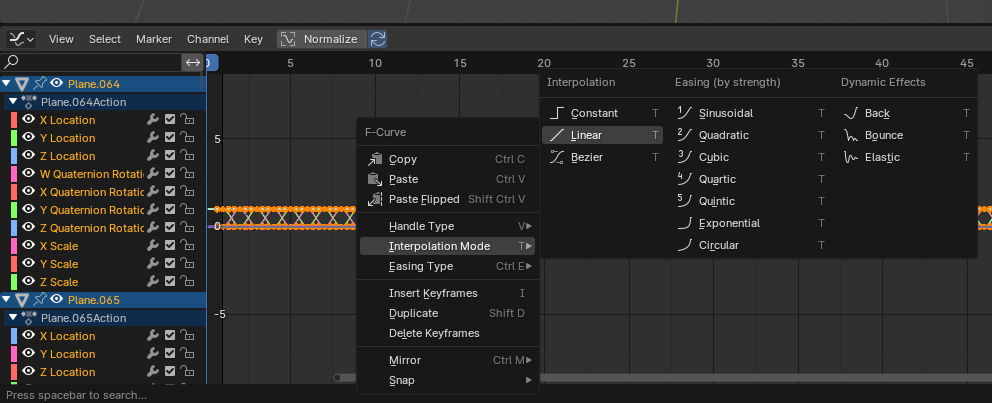
Outliner 창에서 Plane을 모두 선택 또는 Graph Editor 창에서 단축키 ‘A’를 눌러서 그래프를 모두 선택한 후 마우스 우클릭하여 [Interpolation Mode] - [Constant]로 바꾼다. 이 과정을 거쳐야 glb로 export 했을 때 애니메이션이 제대로 나온다.

추가로, 그래프 상에서는 Scale이 0에서 1로 바뀌고 다시 0으로 작아지는 것 처럼 보이지만 자세히 보면 작아진 상태의 Scale은 0이 아니라 0.01인 것을 볼 수 있다.
마치 점처럼 작게 가운데에 계속해서 보여지게 된다.

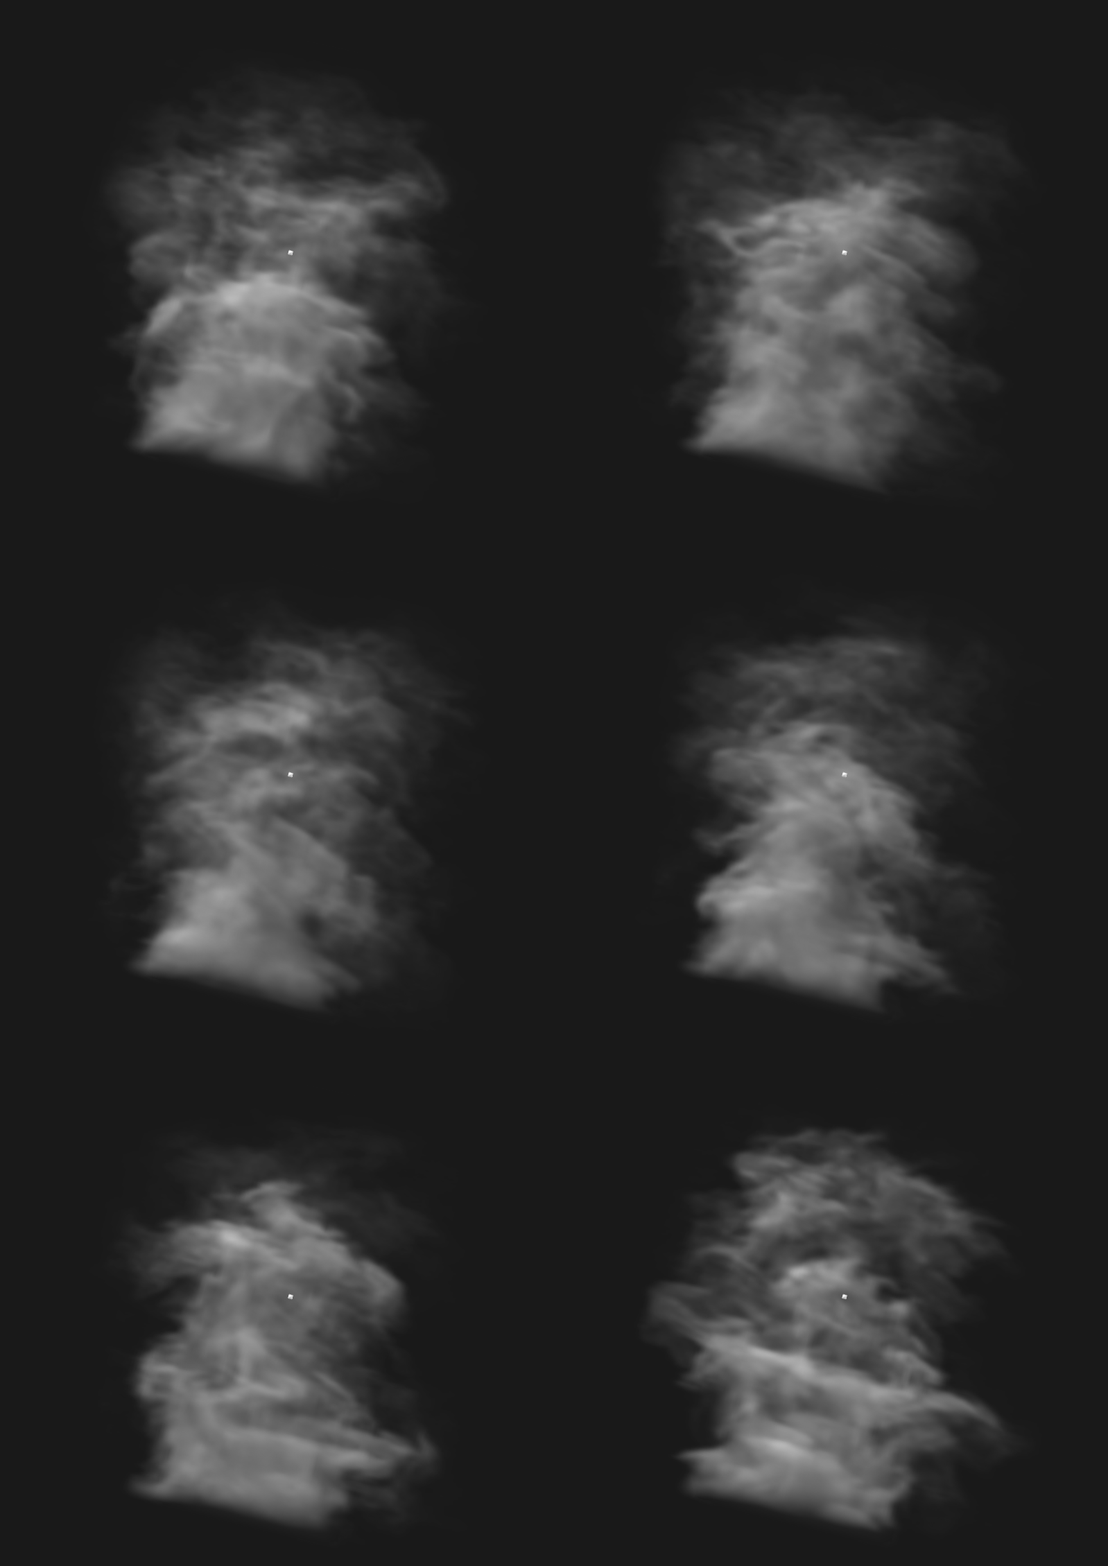
이를 해결하기 위하여 Graph Editor에서 scale 값만 검색하여 단축키 ‘A’를 눌러 전체 선택 후 단축키 ‘G’키, ‘Y’키, ‘-0.01’을 입력하여 Y축으로 0.01만큼 내려주면 작아졌을 때의 크기가 0이 되어 점처럼 보이지 않게 할 수 있다.

이제 export를 위해서 Govie Tools 설정을 바꾼다. [Export Settings] - [Animation]에서 [Group by NLA]로 설정되어 있는 부분을 [Optimize Animation]으로 바꾼 후 추출할 파일 이름을 설정한 후 [Export] 버튼을 눌러서 Export 한다.

glb export 완료
'Blender > 내용 정리&Tip' 카테고리의 다른 글
| [Blender] 마우스 좌클릭으로 원하는 곳에 오브젝트 쉽게 복제하기 (6) | 2024.10.29 |
|---|---|
| [Blender] glb, gltf 파일 Alpha 애니메이션 자동화 스크립트 (1) | 2024.09.27 |
| [Blender] Collection Instancing을 통한 최적화 (1) | 2024.07.05 |
| [Blender] 블렌더에서 플립북 텍스쳐(FlipBook Texture) 사용하기 (1) | 2024.06.19 |
| [Blender] glb/glTF 용 텍스쳐 알파 적용하기 (0) | 2024.06.17 |


