2024. 3. 8. 18:10ㆍUnity
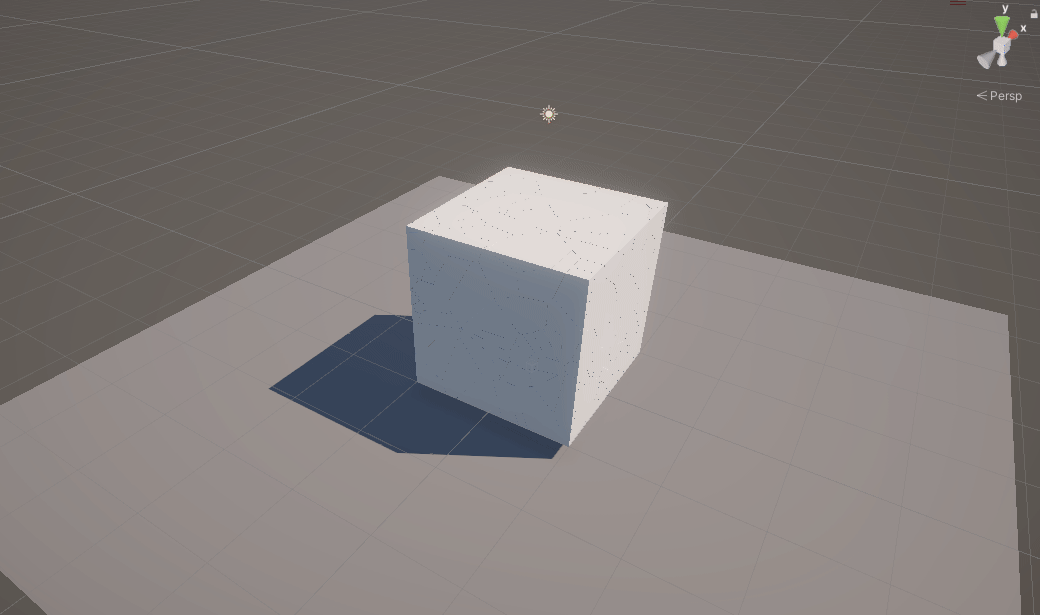
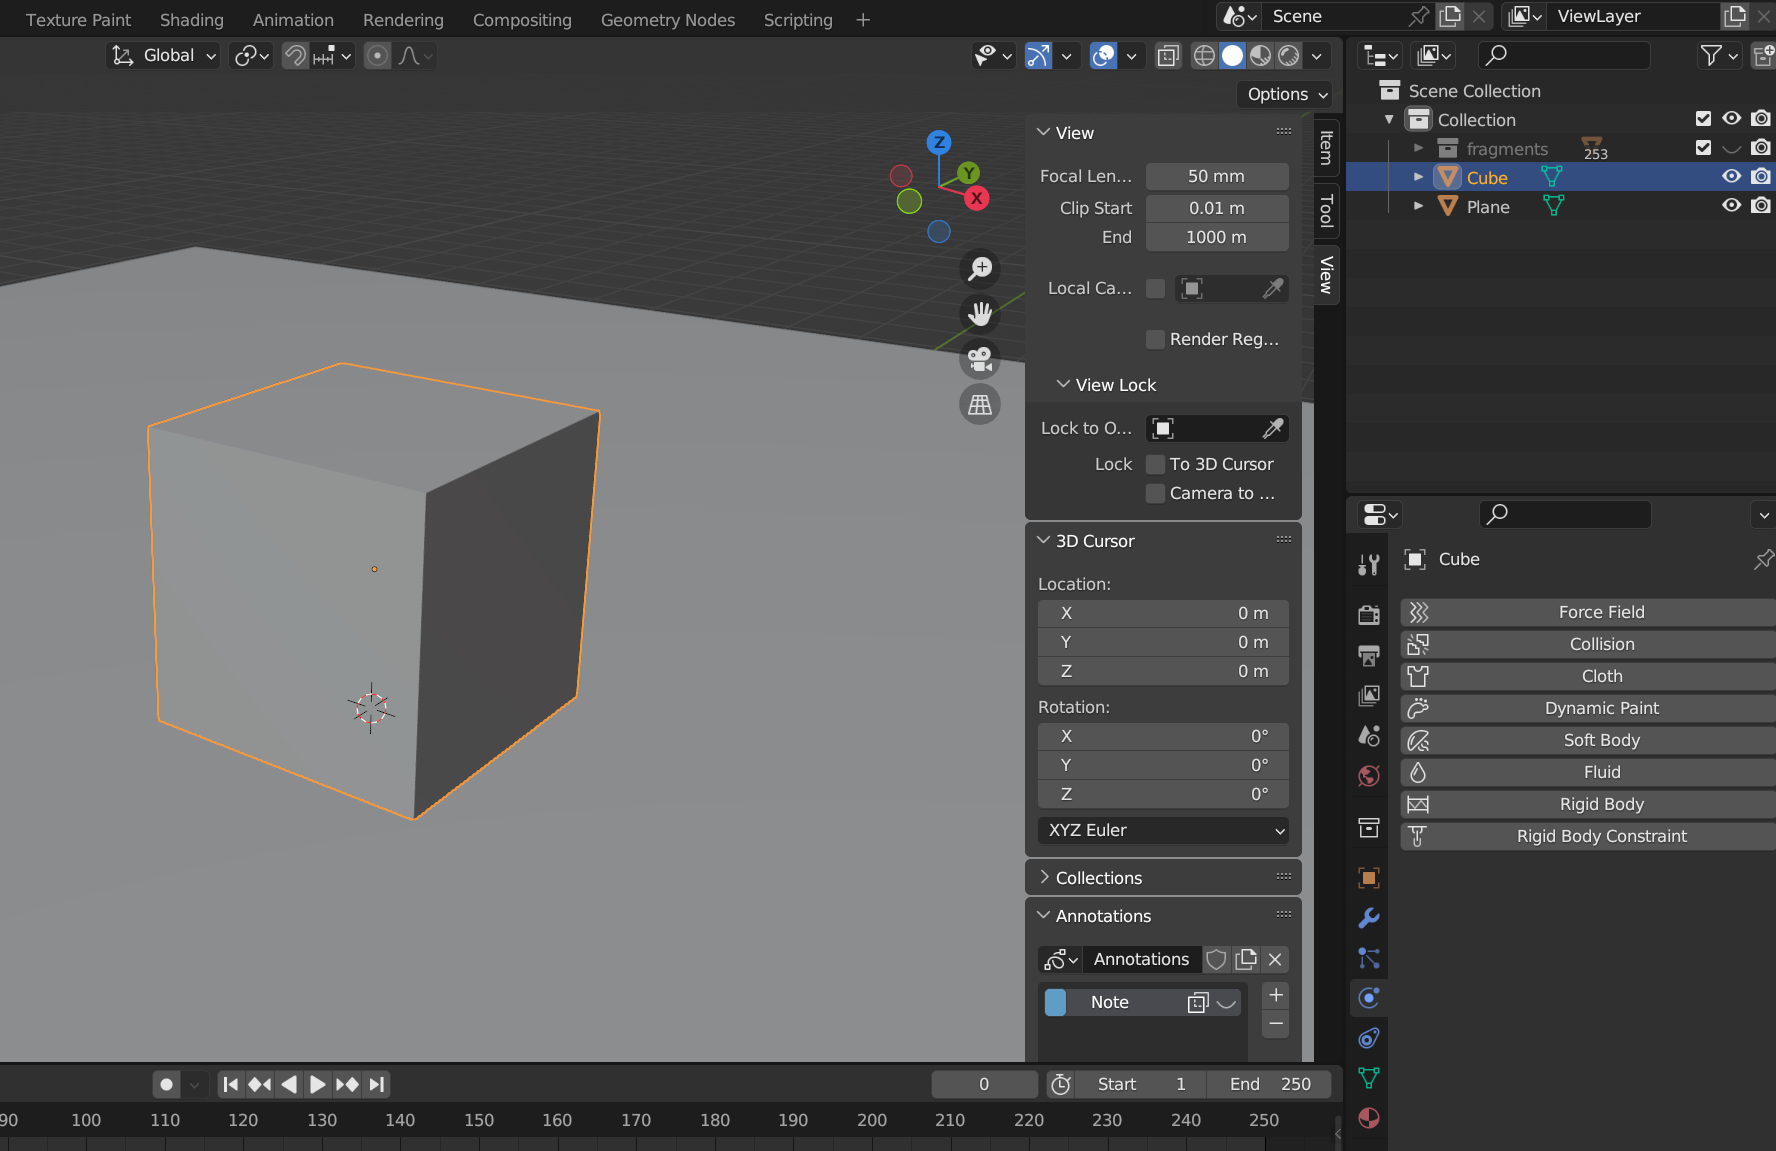
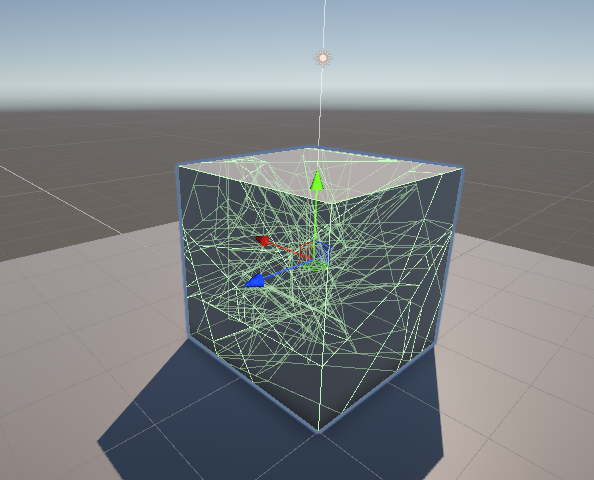
Cell Fracture 기능을 이용해서 이미 조각나있는 큐브를 FBX 파일로 Export 하여 유니티로 가져온다.
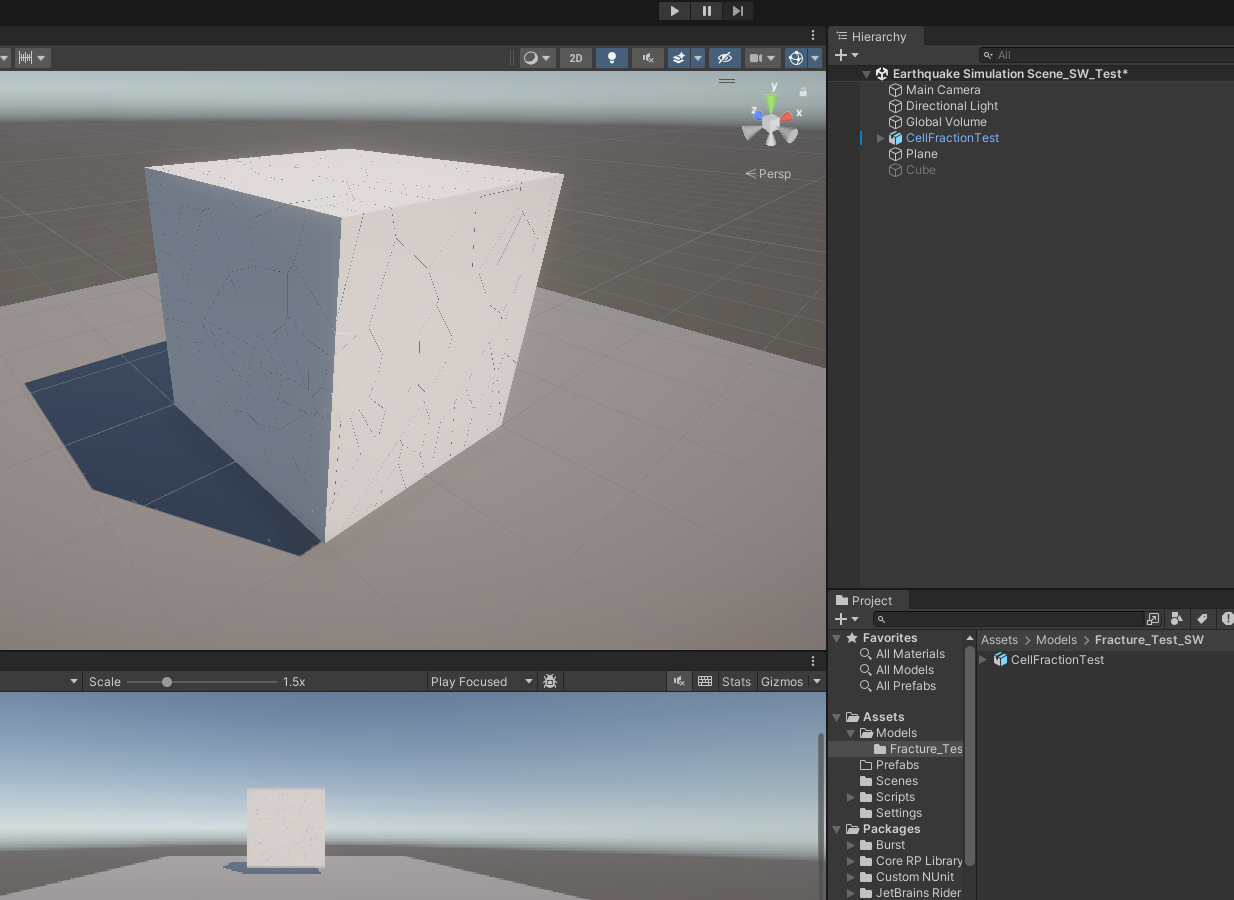
바닥엔 Plane을 생성했고 [Mesh Collider]를 넣었다.
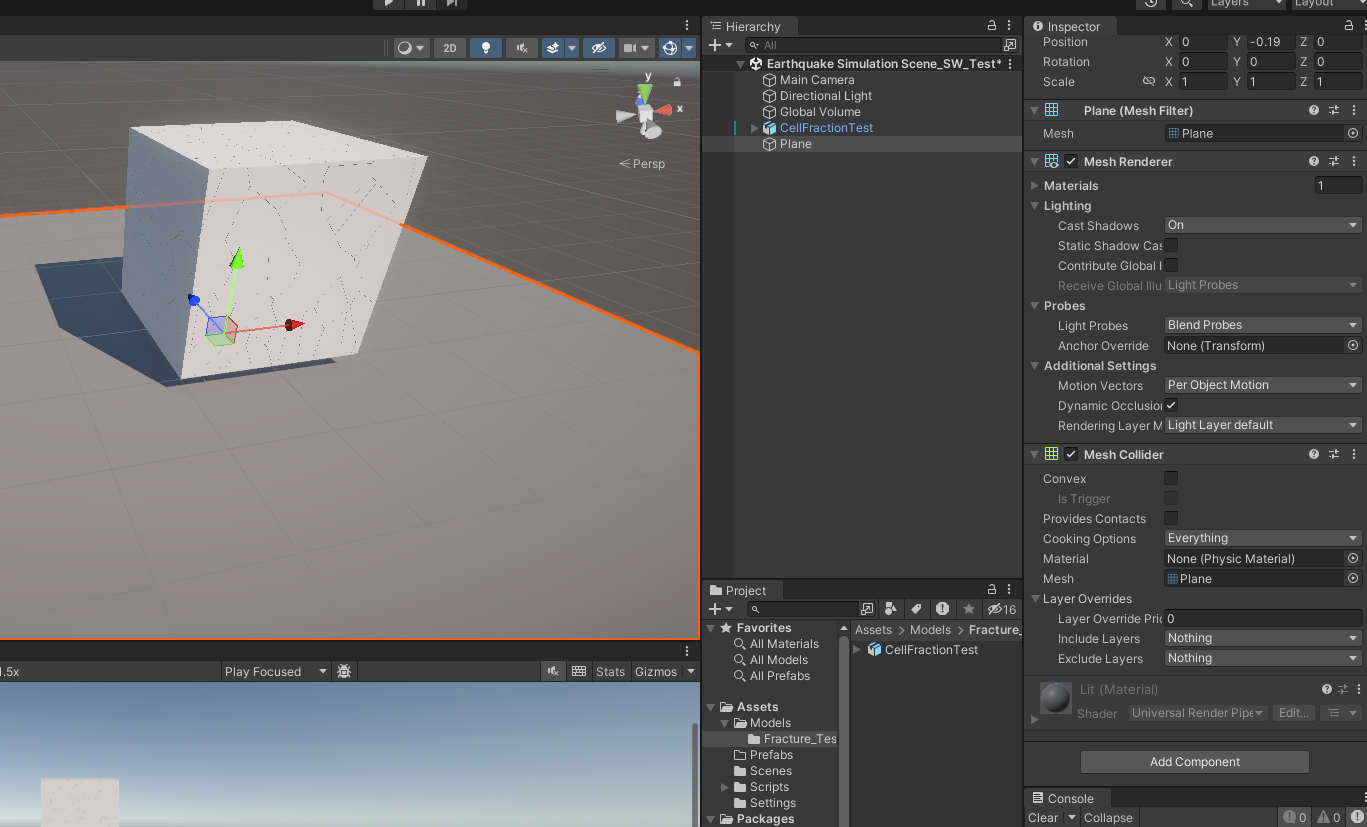
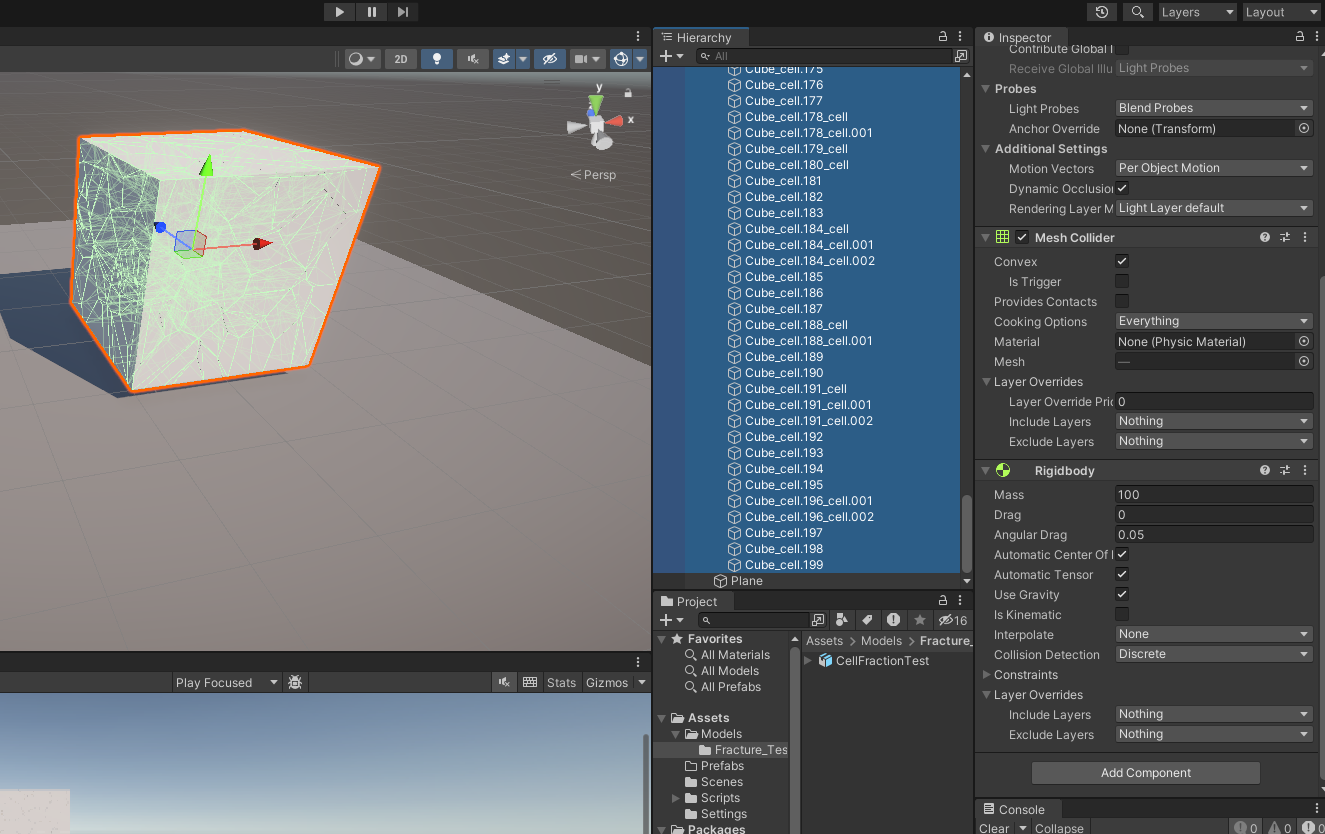
나눠진 큐브 조각에는 한꺼번에 선택하여 [Mesh Collider]와 [Rigidbody]를 넣었으며 [Mesh Collider] - [Convex]를 체크해야 물리가 적용된다.
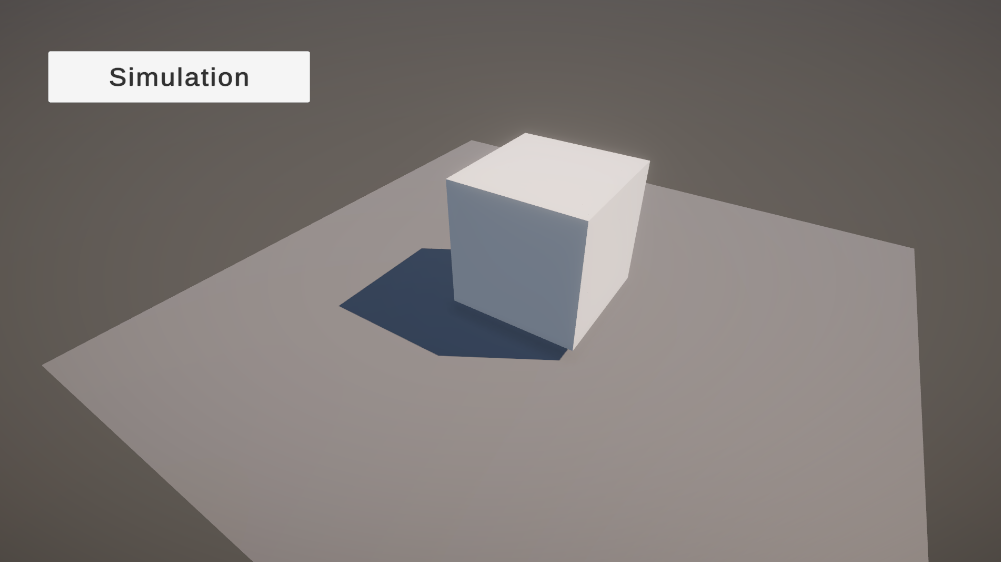
설정을 잘했다면 유니티에서도 분리된 오브젝트가 성공적으로 물리 적용까지 되는 것을 볼 수 있다. 굿~
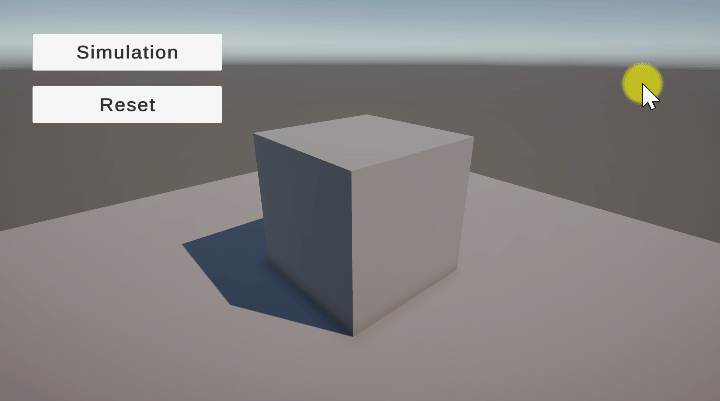
그러면 이제 특정 버튼을 눌렀을 때 기존 모델에서 분리된 모델로 바뀌면서 부서지는 장면을 연출해 볼 것이다.
Blender에서 멀쩡한 큐브 같은 크기, 같은 위치로 Export 하여 유니티로 가져온다.
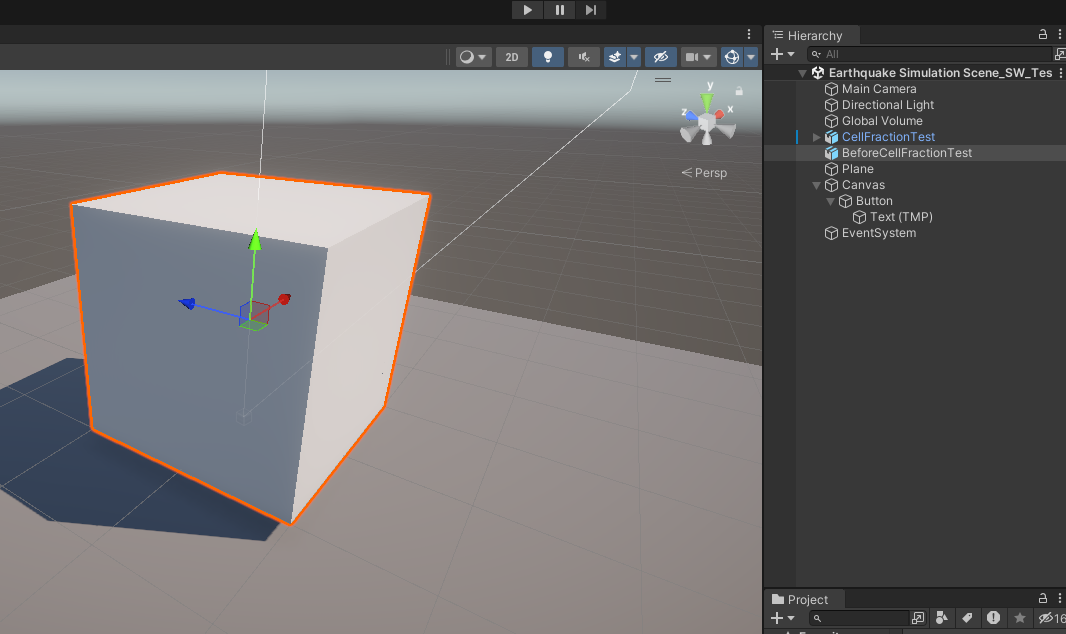
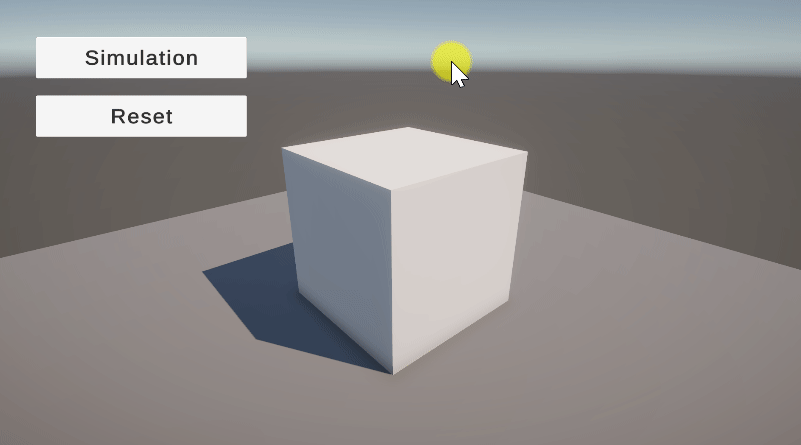
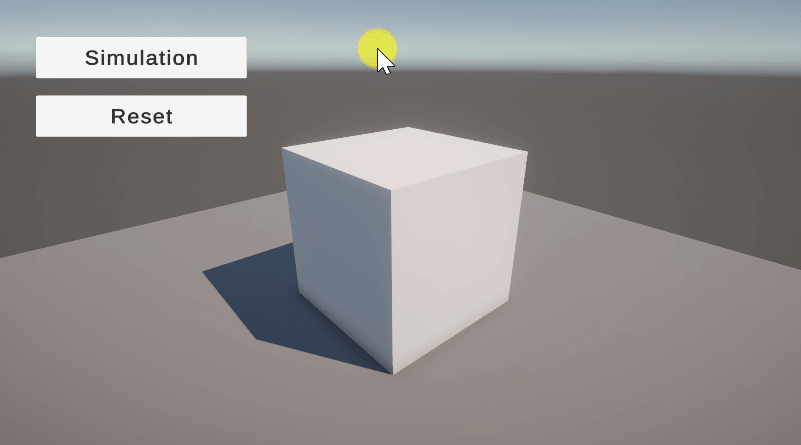
UI로 Simulation 버튼을 만들어서 누르면 모델이 대체되도록 만들어본다.
SimulationTest 스크립트 생성
using System.Collections;
using System.Collections.Generic;
using UnityEngine;
using UnityEngine.UI;

public class SimulationTest : MonoBehaviour
{
    public GameObject beforeCellFraction;
    public GameObject afterCellFraction;

    private void Start()
    {
        beforeCellFraction.SetActive(true);
        afterCellFraction.SetActive(false);
    }

    public void OnButtonClick()
    {
        beforeCellFraction.SetActive(false);
        afterCellFraction.SetActive(true);
    }
}
SetActive 함수를 이용해서 원본과 부서진 모델을 바꿔치기 하는 형식으로 만들어보았다.
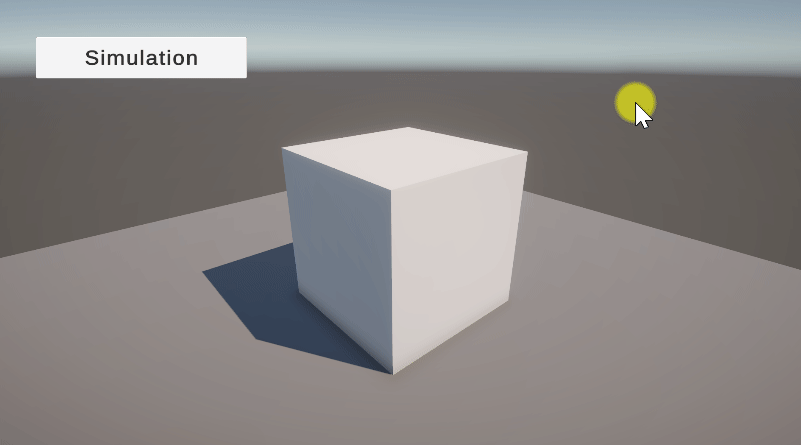
Reset 버튼도 넣고 처음으로 돌아가려고 하는데 이미 부서진 후의 모델이 SetActive로는 돌아오지 않기 때문에 Instantiate으로 부서진 모델을 불러오는 방식으로 바꿔야 할 것 같다.
public void ResetButton()
{
    beforeCellFraction.SetActive(true);
    afterCellFraction.SetActive(false);
}
스크립트를 수정했고, Reset 버튼을 누르면 만들어진 Hierarchy 상의 생성된 프리팹을 모두 지울 수 있게 했다.
using System.Collections;
using System.Collections.Generic;
using Unity.VisualScripting;
using UnityEngine;
using UnityEngine.UI;

public class SimulationTest : MonoBehaviour
{
    public GameObject beforeCellFraction;
    public GameObject afterCellFraction;

    private void Start()
    {

    }

    public void OnButtonClick()
    {
        beforeCellFraction.SetActive(false);
        Instantiate(afterCellFraction, new Vector3(beforeCellFraction.transform.position.x, 0, beforeCellFraction.transform.position.z), Quaternion.identity);
    }

    public void ResetButton()
    {
        // "AfterCellFractionTest" 이름을 가진 모든 게임 오브젝트를 찾아서 제거
        GameObject[] afterCellFractions = GameObject.FindObjectsOfType<GameObject>();
        foreach (GameObject obj in afterCellFractions)
        {
            if (obj.name == "AfterCellFractionTest(Clone)")
            {
                Destroy(obj);
            }
        }
        beforeCellFraction.SetActive(true);
    }
}
위의 기능이 의도한대로 잘 작동은 되지만 나중에 메테리얼을 넣었을 때 문제가 될 수 있다.
조각난 각 오브젝트의 메테리얼을 동일하게 해 주면 분리된 부분에 다른 느낌의 메테리얼을 넣기가 까다로워진다는 것이다. 원본 표면이 복잡한 메테리얼이었다면 각 오브젝트에 해당 메테리얼을 쪼개서 넣을 수도 없다.
다른 기술에 대한 연구도 진행해봐야겠다.
아래의 영상을 참고하여 유니티에 Fracture 기능을 넣을 것이다.
https://youtu.be/9hJRT_9vNXM?si=XKn6NQMddKXRwPOe
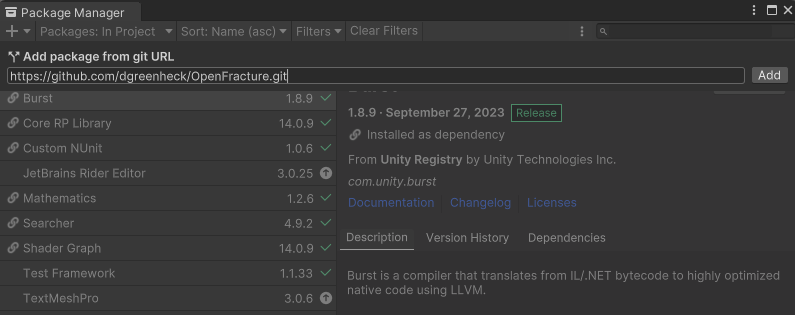
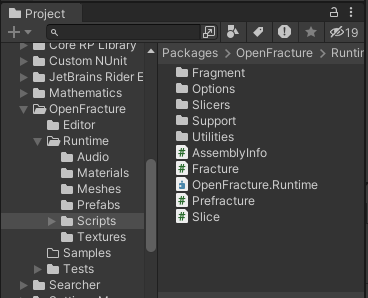
https://github.com/dgreenheck/OpenFracture
GitHub - dgreenheck/OpenFracture: Open source mesh slicing/fracturing utility for Unity
Open source mesh slicing/fracturing utility for Unity - dgreenheck/OpenFracture
github.com
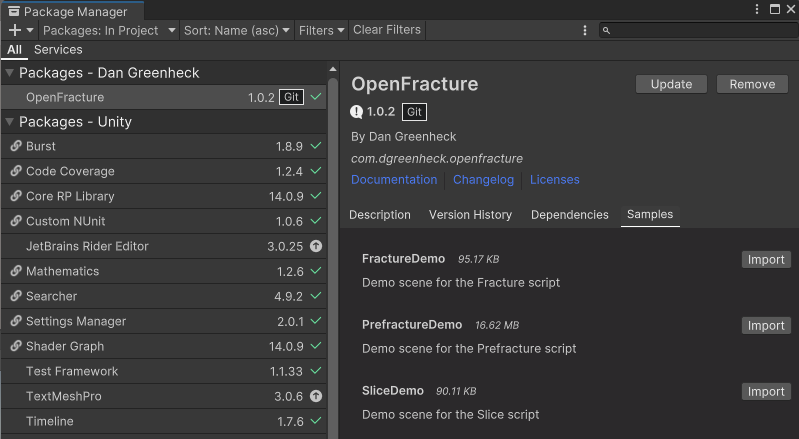
위의 Github 주소로 들어가서 HTTPS 주소를 복사한 다음 유니티 PackageManager에서 설치한다.
Samples도 Import 하여 스크립트를 사용할 것이다.
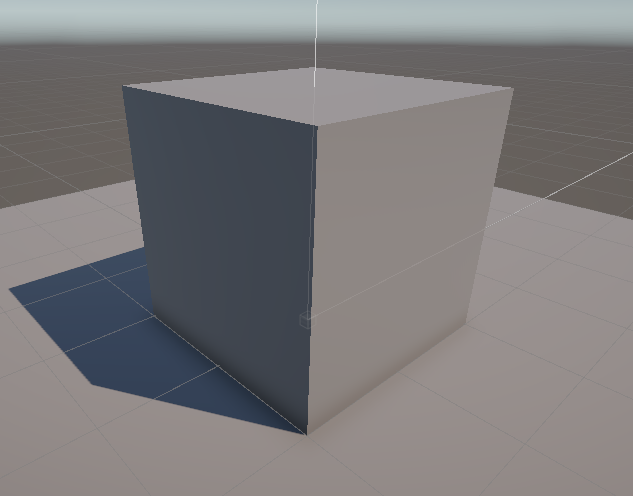
큐브 하나 생성해서 배치한다.
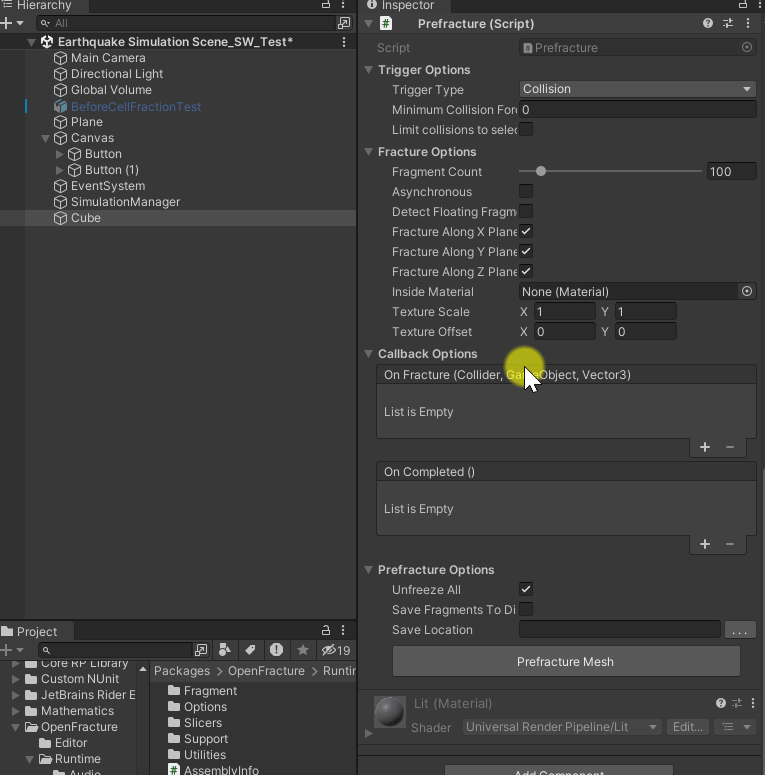
총 3개의 기능 Fracture, Prefracture, Slice 중에서 사용해 보니 Prefracture가 프로젝트에 맞다고 판단된다.
우리가 쓸 스크립트가 저장되어 있는 경로로 가서 Cube에 Prefracture 스크립트를 넣는다.
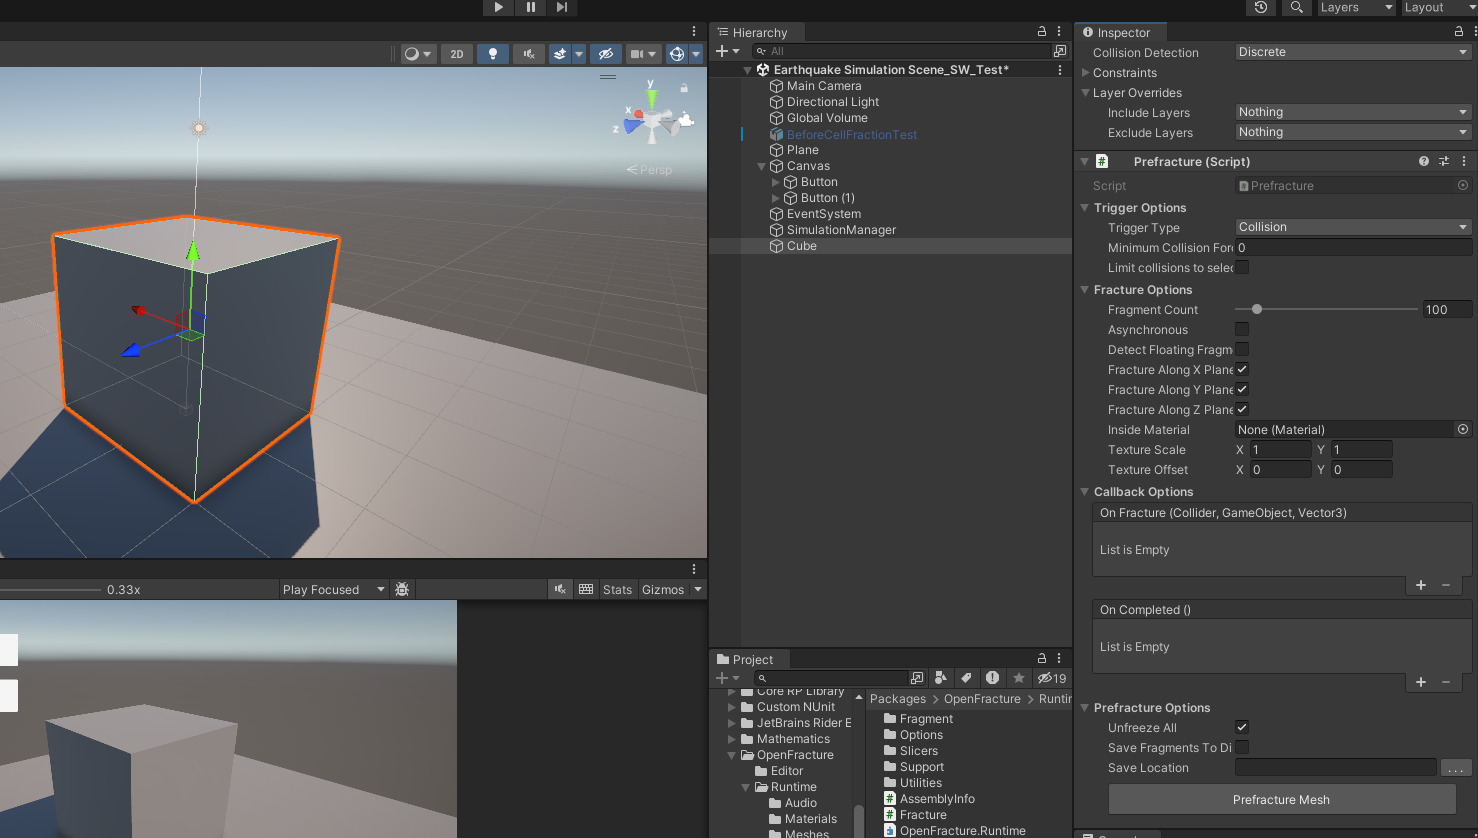
그리고 [Prefracture Mesh] 버튼만 누르면 설정한 값대로 오브젝트가 나눠져서 새 오브젝트가 생기는 것을 볼 수 있다.
같은 위치에 나눠진 오브젝트와 나눠져있지 않은 오브젝트를 이전 방법과 같이 SetActive 함수를 사용하여 껐다 켰다 하면 똑같은 효과를 볼 수 있을 것 같다!
하지만 아쉽게도 나눠진 큐브를 프리팹화 시키면 메쉬가 사라져서 프리팹을 불러오는 Instantiate 함수는 쓸 수 없을 것 같다.
다시 SetActive 함수를 사용할 것이다.
using System.Collections;
using System.Collections.Generic;
using Unity.VisualScripting;
using UnityEngine;
using UnityEngine.UI;

public class SimulationTest : MonoBehaviour
{
    public GameObject beforeCellFraction;
    public GameObject afterCellFraction;
    //private string afterCellFractionName;

    private void Start()
    {
        //afterCellFractionName = afterCellFraction.name;
        beforeCellFraction.SetActive(true);
        afterCellFraction.SetActive(false);
    }

    public void OnButtonClick()
    {
        beforeCellFraction.SetActive(false);
        afterCellFraction.SetActive(true);
        //Instantiate(afterCellFraction);
    }

    public void ResetButton()
    {
        // "AfterCellFractionTest" 이름을 가진 모든 게임 오브젝트를 찾아서 제거
        //GameObject[] afterCellFractions = GameObject.FindObjectsOfType<GameObject>();
        //foreach (GameObject obj in afterCellFractions)
        //{
        //    if (obj.name == afterCellFractionName+"(Clone)")
        //    {
        //        Destroy(obj);
        //    }
        //}
        beforeCellFraction.SetActive(true);
        afterCellFraction.SetActive(false);
    }
}
팀원이 공유해 준 지진처럼 바닥이 흔들리는 스크립트까지 넣으면 일단 지진이 일어나는 것처럼 보이게 된다.
GroundShaker 스크립트 생성해서 Plane에 추가
using System.Collections;
using System.Collections.Generic;
using UnityEngine;
public class GroundShaker : MonoBehaviour
{
    //How strong is the earthquake?
    public float magnitude = 4f; //Not the same magnitude people talk about in an actual earthquakes
    public float slowDownFactor = 0.01f;
    private Vector3 originalPosition;
    void Start()
    {
        originalPosition = transform.position;
    }

    void FixedUpdate()
    {
        //Shake the ground with some random values
        Vector2 randomPos = Random.insideUnitCircle * magnitude;
        float randomY = Random.Range(-1f, 1f) * magnitude;
        //Will generate a more realistic earthquake - otherwise the ground will jitter and not shake
        float randomX = Mathf.Lerp(transform.position.x, randomPos.x, Time.fixedTime * slowDownFactor);
        float randomZ = Mathf.Lerp(transform.position.z, randomPos.y, Time.fixedTime * slowDownFactor);
        randomY = Mathf.Lerp(transform.position.y, randomY, Time.fixedTime * slowDownFactor * 0.1f);
        Vector3 moveVec = new Vector3(randomX, randomY, randomZ);
        transform.position = originalPosition + moveVec;
    }
}
지진과 큐브의 파편화가 잘 되었다. Reset을 눌렀을 때 다시 파편들이 제자리를 찾아가게만 하면 될 것 같다.
나눠진 큐브를 프리팹으로 쓸 수 없을 줄 알았는데 프리팹으로도 쓸 수 있는 기능이 있었다.
[Save Location] 부분에 프로젝트 이하 폴더 경로를 설정하고 버튼을 누르면 임시로 쓰였던 Mesh가 저장이 돼서 프리팹으로도 쓸 수 있다!!!


SetActive를 버리고 다시 Instantiate으로 돌아간다. SimulationTest 스크립트 수정
using System.Collections;
using System.Collections.Generic;
using Unity.VisualScripting;
using UnityEngine;
using UnityEngine.UI;

public class SimulationTest : MonoBehaviour
{
    public GameObject beforeCellFraction;
    public GameObject afterCellFraction;
    private string afterCellFractionName;

    private void Start()
    {
        afterCellFractionName = afterCellFraction.name;
        beforeCellFraction.SetActive(true);
    }

    public void SimulationButton()
    {
        beforeCellFraction.SetActive(false);
        Instantiate(afterCellFraction);
    }

    public void ResetButton()
    {
        // "AfterCellFractionTest" 이름을 가진 모든 게임 오브젝트를 찾아서 제거
        GameObject[] afterCellFractions = GameObject.FindObjectsOfType<GameObject>();
        foreach (GameObject obj in afterCellFractions)
        {
            if (obj.name == afterCellFractionName+"(Clone)")
            {
                Destroy(obj);
            }
        }
        beforeCellFraction.SetActive(true);
    }
}
나눠지는 큐브가 리셋되는 부분까지 잘 적용되었다!!!!!!
이제 다리 모델링을 가져와서 이 기능이 적용되는지 살펴봐야 한다.
'Unity' 카테고리의 다른 글
| [Unity] MeshSync 패키지 (Blender-Unity 실시간 싱크) (0) | 2024.03.26 |
|---|---|
| 유니티 스마트재난관리시스템 디지털 트윈 프로젝트(3) -다리 붕괴 시뮬레이션 (1) | 2024.03.12 |
| 유니티 스마트재난관리시스템 디지털 트윈 프로젝트(1) -Blender Cell Fracture 기능 R&D (0) | 2024.03.08 |
| 유니티 태양광패널 디지털 트윈 프로젝트(12) -협업 Repository를 내 Git Repository로 가져오기 (0) | 2024.03.06 |
| 유니티 태양광패널 디지털 트윈 프로젝트(11) -전체 UI 정리, 빌드, 완성 (0) | 2024.03.05 |