3D 에셋에 마우스를 올려놓았을 때 정보가 출력되거나 테두리 셰이더를 적용하는 기능을 만들어야 한다.
이 기능은 첫 번째 전국 지도 씬에서 3D 지도에 마우스를 올려놓을 때도 쓰이고, 마지막 솔라시도 씬에서 각 A, B, C, D 구역 별에서도 마우스를 올려 놓았을 때 정보 표시에도 사용된다.
먼저, 간단한 테스트를 위해 에셋을 놓고 Box Collider를 감싸서 마우스를 올려놓았을 때 Debug.Log가 출력되는 지 살펴본다.

using System.Collections;
using System.Collections.Generic;
using UnityEngine;

public class MouseEnterTest : MonoBehaviour
{
    private void OnMouseEnter()
    {
        Debug.Log("마우스 호버");
    }
}
마우스를 잘 인식한다.

이제 마우스를 올리면, .json 형식의 실시간 정보를 불러오도록 설정을 해볼 것이다.
왜냐하면 가장 중요한 점은 결국 데이터를 보는 것이기 때문이다.
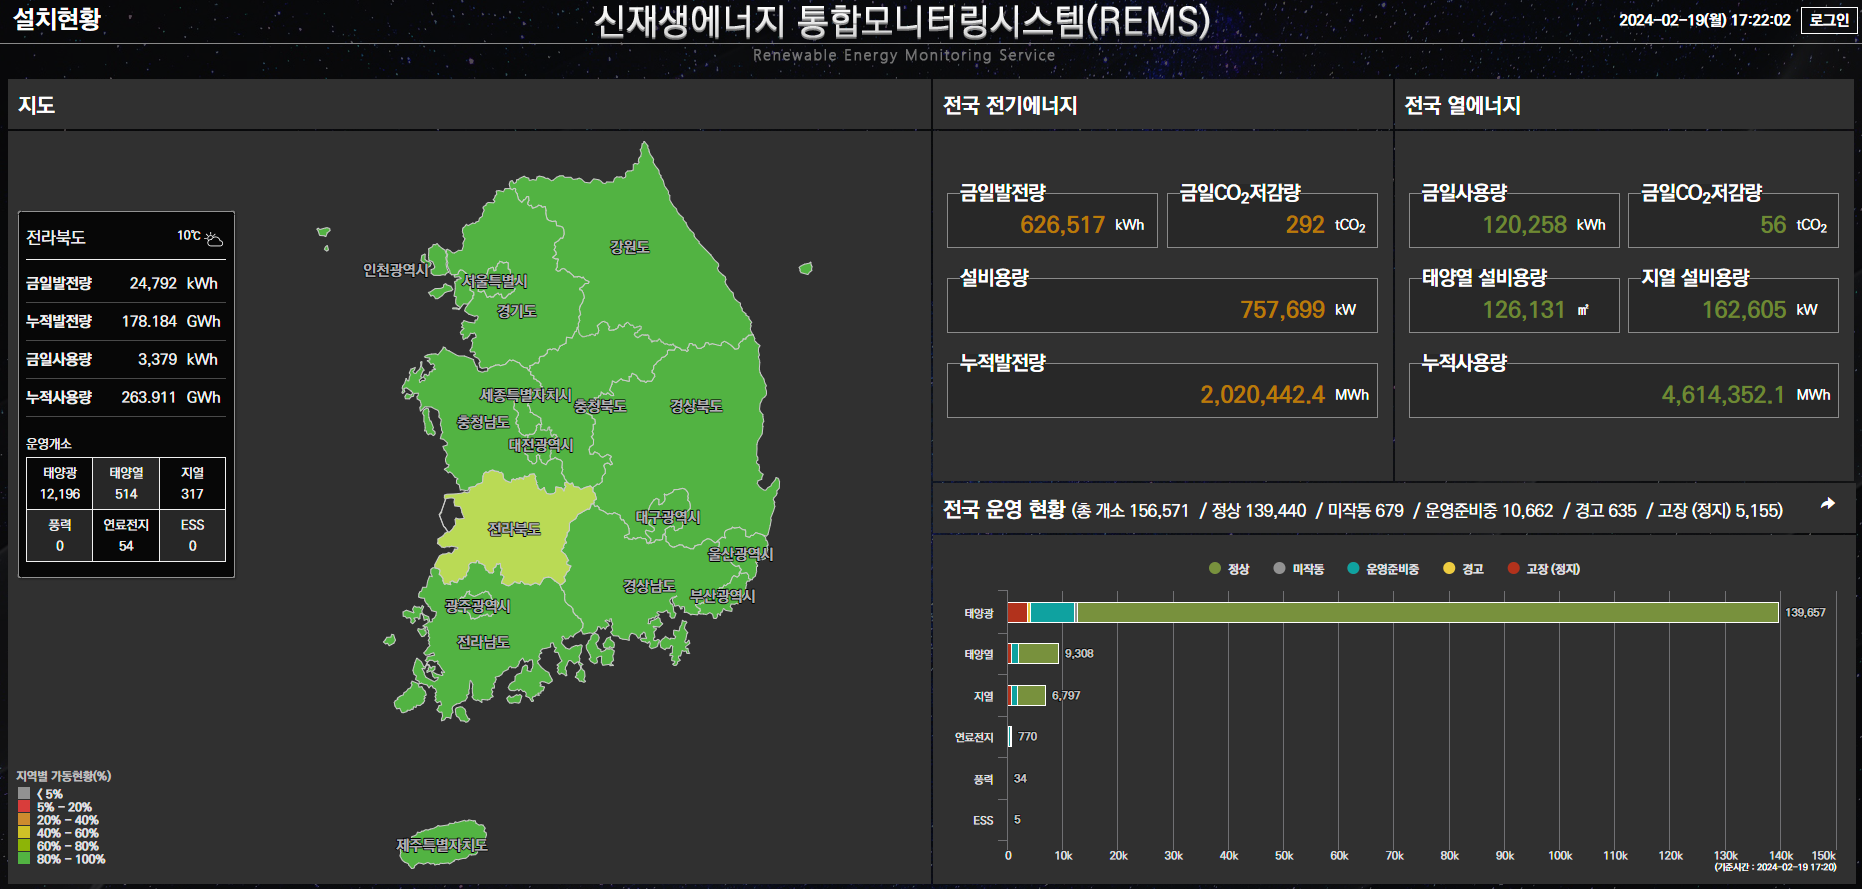
아래의 링크에서 받아올 수 있는 전국 단위 발전량을 표시해 볼 것이다.
https://rems.energy.or.kr/admin/inst/view/nationalInstPrstatWhole
REMS
전국 전기에너지 금일발전량 금일CO2저감량 설비용량 누적발전량
rems.energy.or.kr

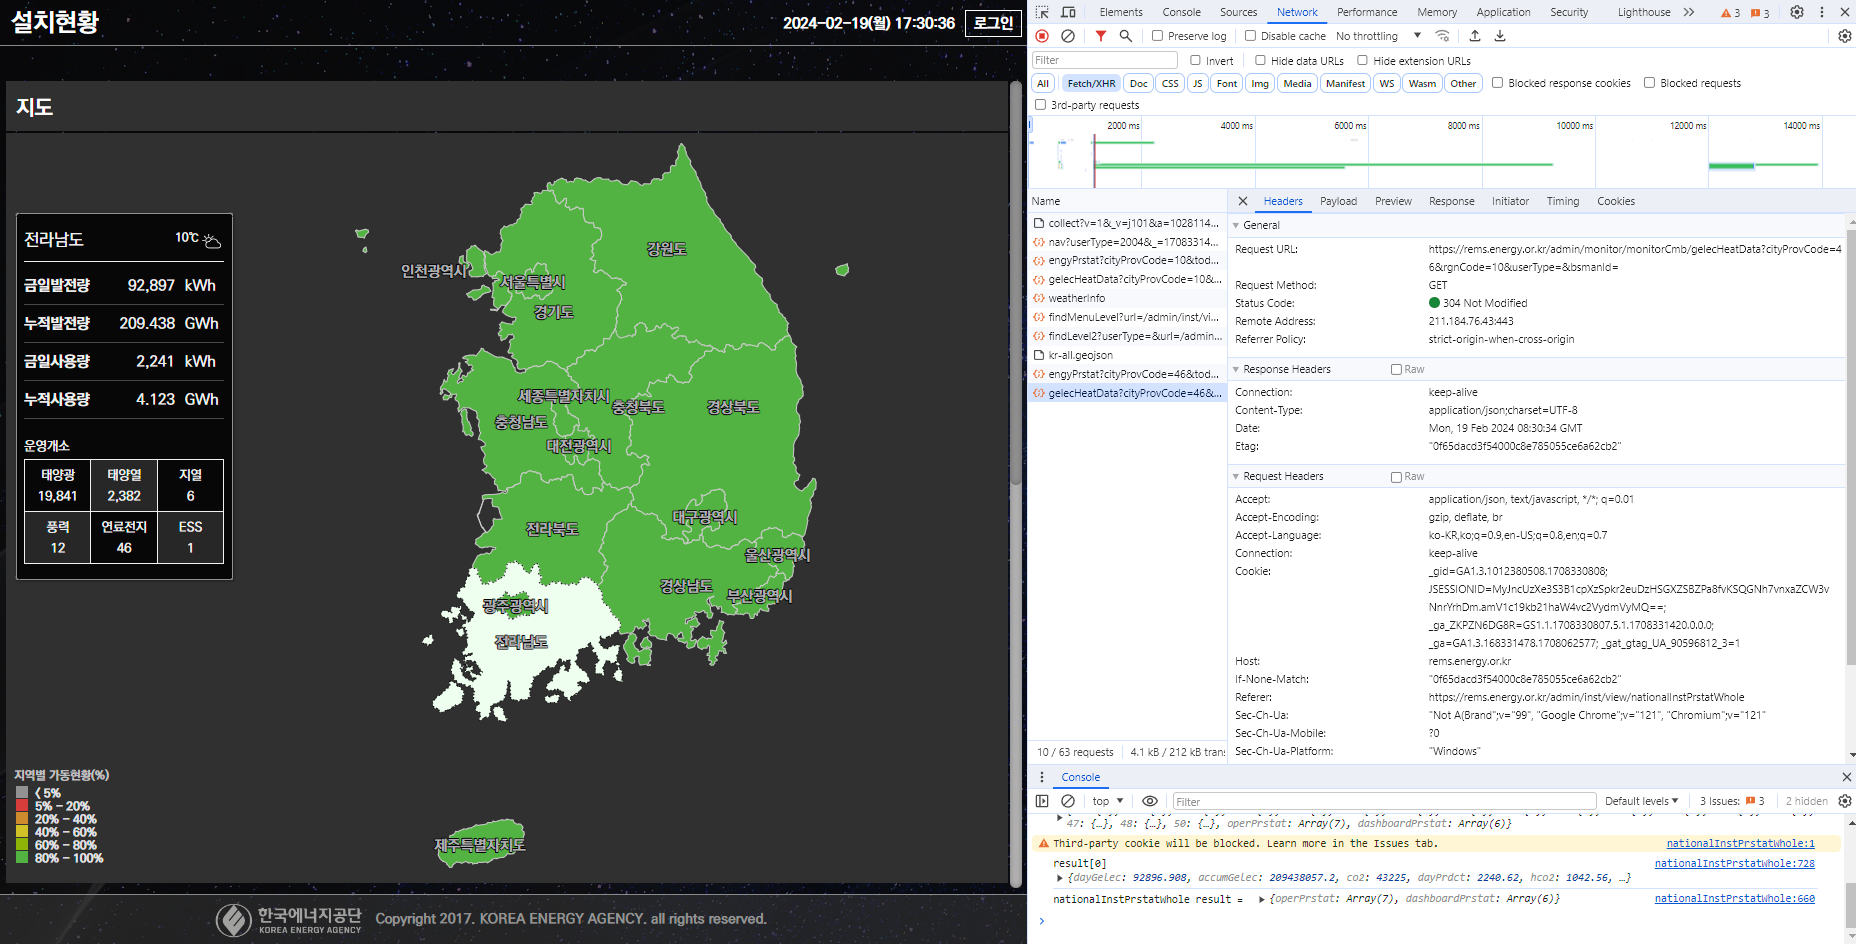
웹 크롤링으로 [크롬 개발자 도구] - [Network]를 이용해서 전라남도 데이터를 받아올 수 있다.

위의 링크를 Postman에 입력하면, Json 형식으로 들어오는 데이터를 볼 수 있다.

위의 데이터를 파싱하는 유니티 스크립트는 다음과 같다.
using System.Collections;
using System.Collections.Generic;
using UnityEngine;
using UnityEngine.Networking;
using UnityEngine.UI;

public class WeatherAPI : MonoBehaviour
{
    void Start()
    {
        StartCoroutine(GetChargeInfo());
    }

    IEnumerator GetChargeInfo()
    {
        string url = $"https://rems.energy.or.kr/admin/monitor/monitorCmb/gelecHeatData?cityProvCode=46&rgnCode=10&userType=&bsmanId=";

        using (UnityWebRequest webRequest = UnityWebRequest.Get(url))
        {
            yield return webRequest.SendWebRequest();

            if (webRequest.result == UnityWebRequest.Result.ConnectionError || webRequest.result == UnityWebRequest.Result.ProtocolError)
            {
                Debug.Log($"Error : {webRequest.error}");
            }
            else
            {
                PowerDataInfoArray powerDataInfoArray = JsonUtility.FromJson<PowerDataInfoArray>("{\"powerDataInfo\":" + webRequest.downloadHandler.text + "}");
                ProcessChargeInfo(powerDataInfoArray.powerDataInfo[0]);
            }
        }
    }

    private void ProcessChargeInfo(PowerData powerData)
    {
        Debug.Log($"금일 발전량: {powerData.dayGelec}");
        Debug.Log($"누적 발전량: {powerData.accumGelec}");
        Debug.Log($"금일 사용량: {powerData.dayPrdct}");
        Debug.Log($"누적 사용량: {powerData.cntuAccumPowerPrdct}");
    }
}

[System.Serializable]
public class PowerDataInfoArray
{
    public List<PowerData> powerDataInfo;
}

[System.Serializable]
public class PowerData
{
    public double dayGelec;
    public double accumGelec;
    public int co2;
    public double dayPrdct;
    public double hco2;
    public double cntuAccumPowerPrdct;
}

[System.Serializable]
public class InstcapaData
{
    public double gelecInstcapa;
    public double heatInstcapa;
    public double heathInstcapa;
}
빌보드(Billboard) 정보 캔버스 만들기
정보를 표시할 Canvas를 만들고 이미지와 텍스트를 넣는다.
Canvas의 [Render Mode]는 [World Space]로, [Event Camera]는 [Main Camera]를 드래그해서 넣는다.

빌보드가 잘 작동하는지 보기 위해서 빈 오브젝트를 만들고 "Player"로 이름을 바꿔 씬을 자유롭게 날아다닐 수 있도록 스크립트를 적용한다.
using System.Collections;
using System.Collections.Generic;
using UnityEngine;

public class Player : MonoBehaviour
{
    public float speed = 5.0f;
    public float rotSpeed = 2000f;
    float mx;
    float my;

    private void Start()
    {
        //카메라의 초기 세팅 회전값 가져오기
        mx = transform.eulerAngles.y;
        my = -transform.eulerAngles.x;
    }

    private void Update()
    {
        float horizontal = Input.GetAxis("Horizontal");
        float vertical = Input.GetAxis("Vertical");

        //q를 누르면 y값 하강, e를 누르면 y값 상승
        if(Input.GetKey(KeyCode.Q))
        {
            transform.Translate(Vector3.down * speed * Time.deltaTime);
        }
        if(Input.GetKey(KeyCode.E))
        {
            transform.Translate(Vector3.up * speed * Time.deltaTime);
        }

        Vector3 movement = new Vector3(horizontal, 0, vertical) * speed * Time.deltaTime;
        transform.Translate(movement);

        float rot_horizontal = Input.GetAxis("Mouse X");
        float ver_horizontal = Input.GetAxis("Mouse Y");

        mx += rot_horizontal * rotSpeed * Time.deltaTime;
        my += ver_horizontal * rotSpeed * Time.deltaTime;

        //위아래 시야 y축 제한
        my = Mathf.Clamp(my, -90f, 90f);
        //x, y 축 회전 Vector3에 유의해서 작성
        transform.eulerAngles = new Vector3(-my, mx, 0);
    }
}
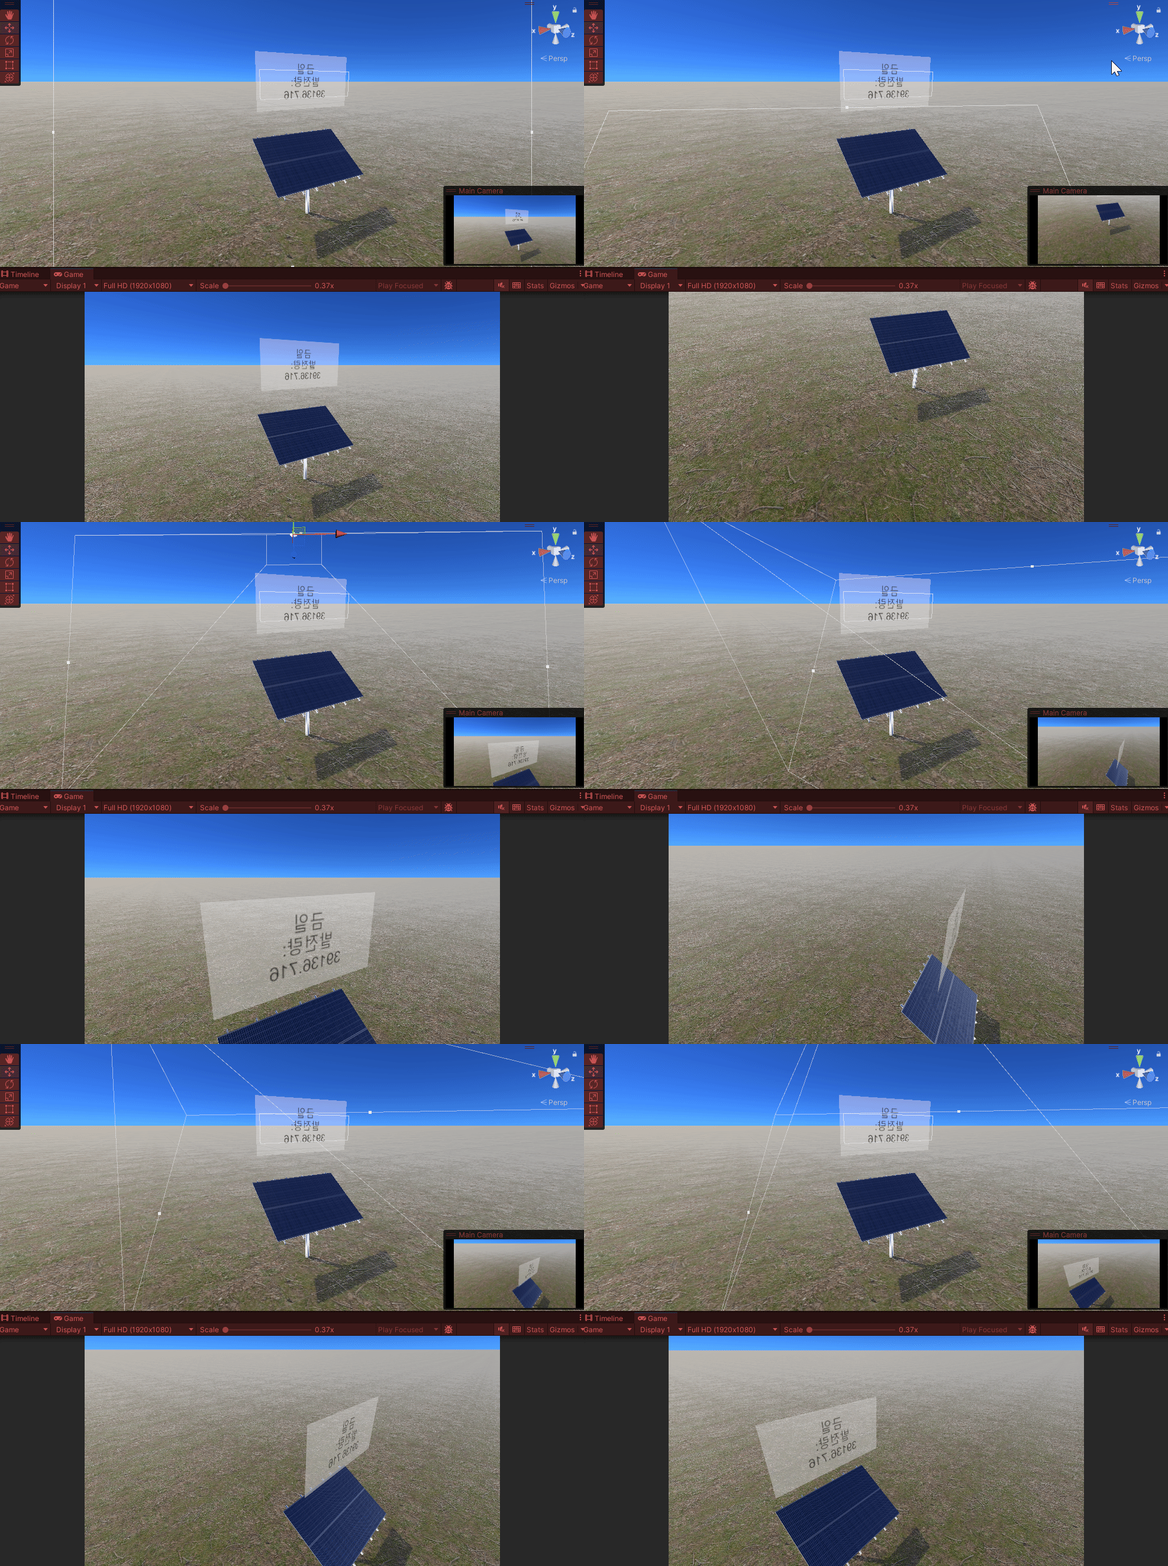
그런데 문제는 빌보드가 작동하지 않는 다는 것이다. UI가 언제나 카메라를 따라와야 한다.

Billboard 스크립트를 생성한다.
using System.Collections;
using System.Collections.Generic;
using UnityEngine;

public class Billboard : MonoBehaviour
{
    public Transform target;

    void Update()
    {
        transform.forward = target.forward;
    }
}
스크립트를 캔버스에 끌어놓고 메인 카메라만 끌어다 놓으면 끝!

UI가 카메라를 따라오게는 성공했다!
이제 오브젝트에 마우스를 올리면 UI가 활성화되게 만들 것이다.
using System.Collections;
using System.Collections.Generic;
using UnityEngine;

public class MouseEnterTest : MonoBehaviour
{
    public Canvas infoCanvas;
    private void Start()
    {
        infoCanvas.enabled = false;
    }
    private void OnMouseEnter()
    {
        infoCanvas.enabled = true;
        Debug.Log("마우스 호버");
    }

    private void OnMouseExit()
    {
        infoCanvas.enabled = false;
    }
}
태양광 패널 에셋에 들어있는 스크립트를 수정해서 가능하게 만들었다.
하지만 문제는 UI가 그 자리에 계속 남아있기 때문에 에셋과 멀어지면 글씨가 보이지 않게 된다는 것이다.

카메라가 바라보는 forward의 반대 방향으로 캔버스의 Rect Transform 값이 카메라 앞에 일정 간격으로 유지가 되게 수정을 해야할 것 같다.

using System.Collections;
using System.Collections.Generic;
using UnityEngine;

public class Billboard : MonoBehaviour
{
    public Transform target;
    public float distanceFromCamera = 5f;

    private void Start()
    {
        if(target == null)
        {
            target = Camera.main.transform;
        }
    }

    void Update()
    {
        Vector3 cameraPosition = target.position;
        Vector3 cameraForward = target.forward;

        transform.position = cameraPosition + cameraForward * distanceFromCamera;

        transform.forward = cameraForward;
    }
}
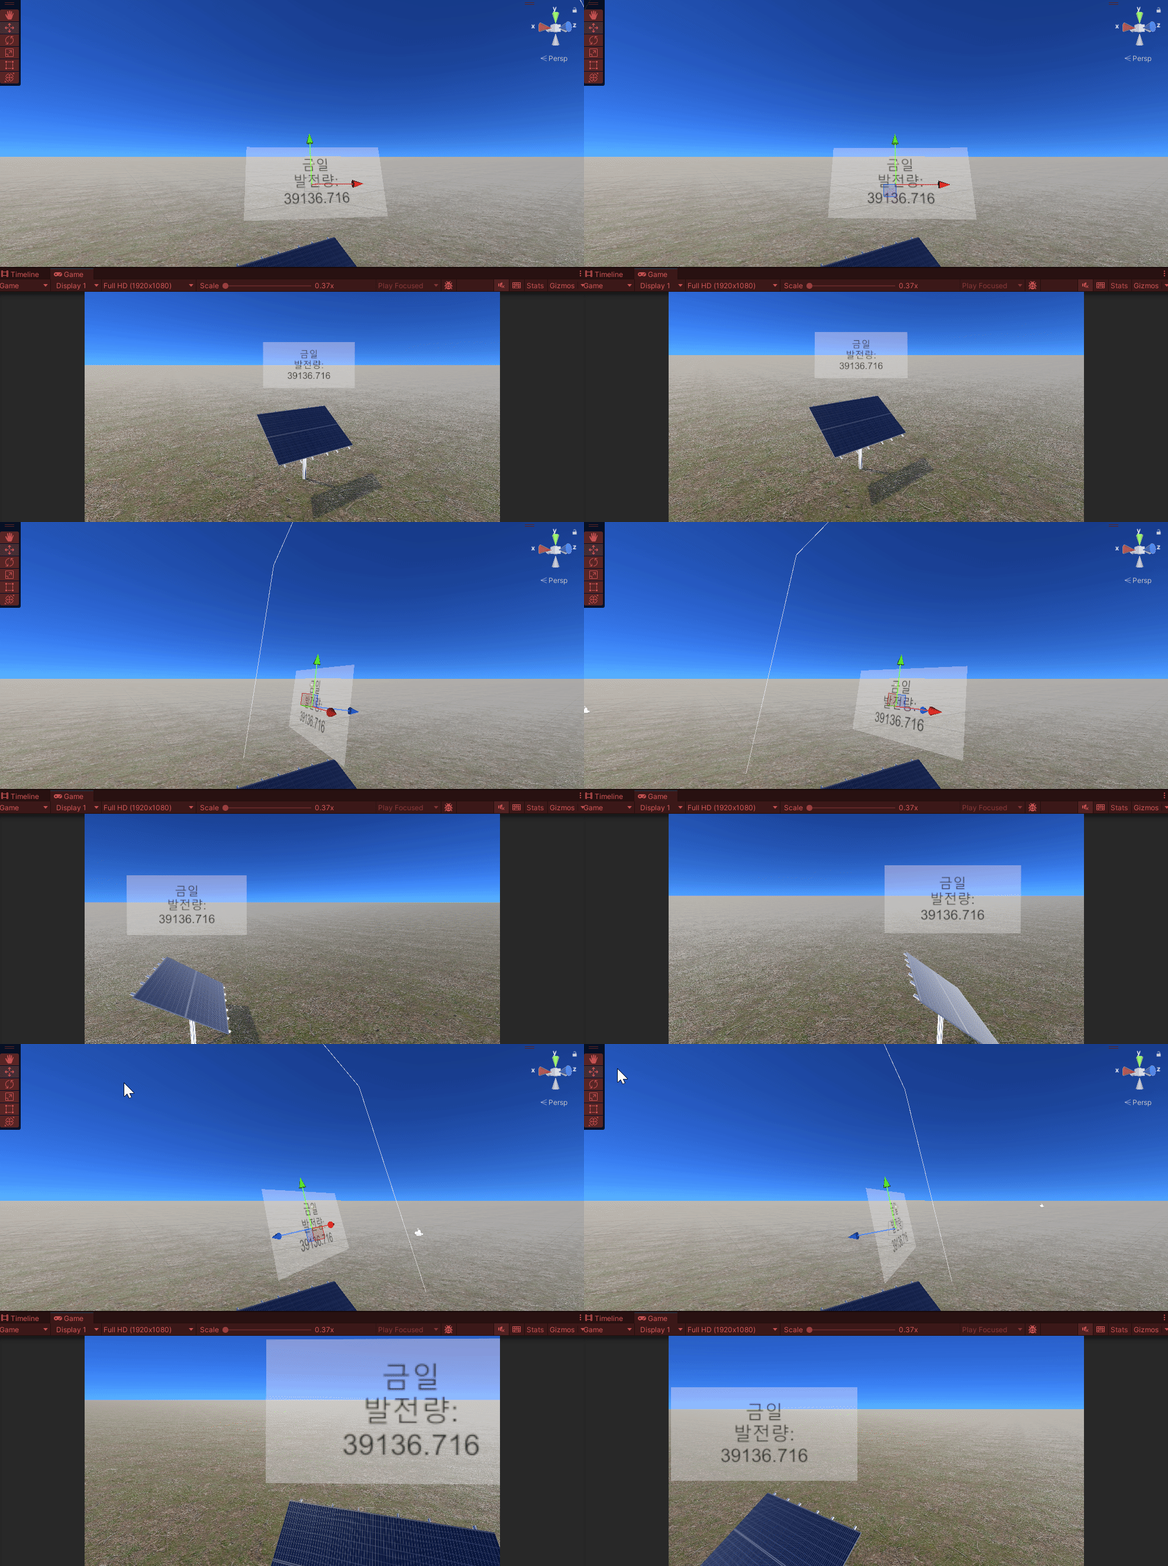
-> 해보니까 캔버스의 스케일을 바꿔야할 것 같다. 카메라의 transform을 따라와서 [Screen Space -Camera] 기능이 되어버린다.
거리에 따른 캔버스의 스케일을 바꿔보도록 하자.
using System.Collections;
using System.Collections.Generic;
using UnityEngine;

public class Billboard : MonoBehaviour
{
    public Transform target;
    [Tooltip("보고자하는 스케일 크기를 입력하세요.")]
    public float scaleAdjustable = 0.3f;
    private float scaleMultiplier = 0.01f;

    void Update()
    {
        float distance = Vector3.Distance(transform.position, target.position) * scaleAdjustable;

        float newScale = distance * scaleMultiplier;

        transform.localScale = new Vector3(newScale, newScale, 0);

        transform.forward = target.forward;
    }
}
코드를 다시 짰고, 내가 의도하던 결과물이 나왔다.
UI와 멀어져도 항상 그 자리에서 일정하게 보여지게 되었다.

다음으로 할 일은 마우스를 호버하였을 때 강조 효과를 구현하는 것이다.
아마 셰이더가 필요할 것 같다.
'Unity > 프로젝트&작업물' 카테고리의 다른 글
| 유니티 태양광패널 디지털 트윈 프로젝트(7) -태양광 패널 에셋 본 씬에 배치, 전라남도 씬 구현 중 (0) | 2024.02.27 |
|---|---|
| 유니티 태양광패널 디지털 트윈 프로젝트(6) -3D 에셋에 마우스 호버 시 테두리 하이라이트 셰이더 만들기 -> 강조효과로 수정 (0) | 2024.02.23 |
| 유니티 태양광패널 디지털 트윈 프로젝트(4) -태양광 에셋 수정(텍스쳐, 피봇), 에셋 씬 배치 테스트, 적외선 카메라 셰이더, 격자 구현 (0) | 2024.02.16 |
| 유니티 태양광패널 디지털 트윈 프로젝트(3) -태양광 에셋 최적화 (1) | 2024.02.14 |
| 유니티 태양광패널 디지털 트윈 프로젝트(2) -적외선 카메라 셰이더 만들기 (0) | 2024.02.13 |


