Render Mode - Overlay
- 모니터의 크기나 해상도에 따라서 캔버스의 위치가 자동으로 변한다. 달라질 수 있는 UI의 상대적인 위치를 동일하게 고정시키며 확대 축소가 자동으로 된다.
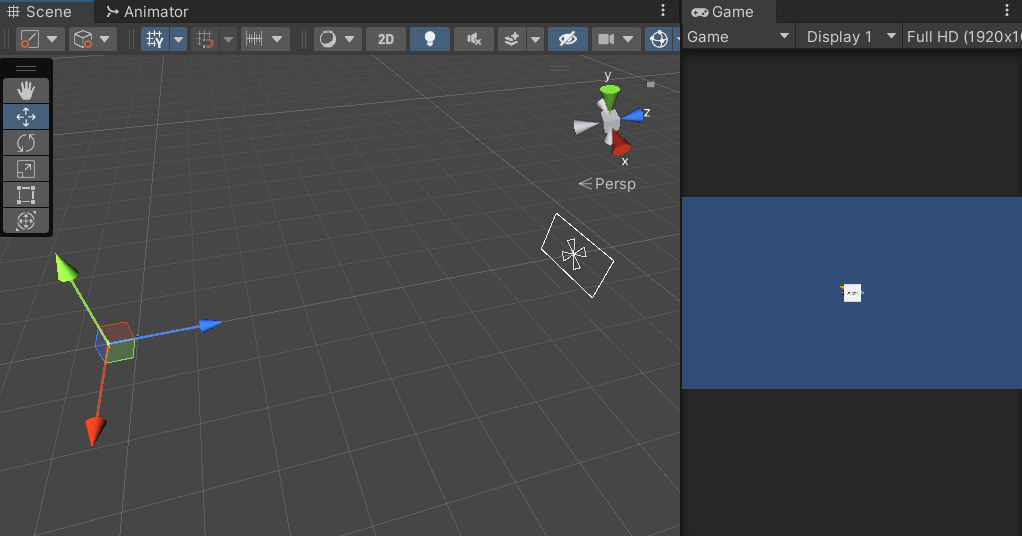
- 게임 화면과 캔버스가 겹쳐서 보인다.


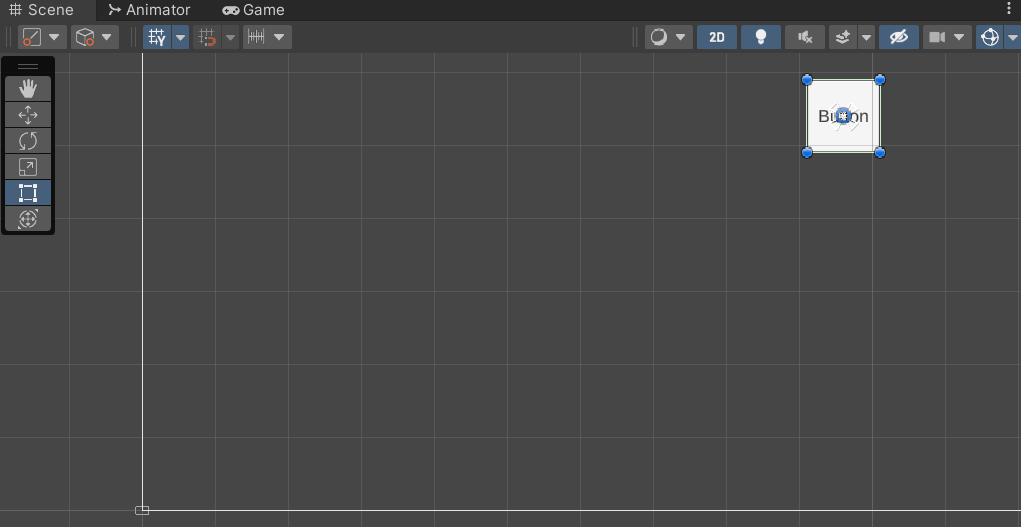
버튼 추가로 캔버스를 하나 만들면, 기본으로 Screen Space - Overlay로 설정되어있는 것을 볼 수 있다.
오버레이 모드에서는 캔버스와 왼쪽 아래 작은 게임 화면이 겹쳐서 나타나게 된다.

Render Mode - Camera
- 캔버스의 크기가 카메라의 크기와 동일하게 자동으로 조정된다.
- Overlay 모드와 같게 캔버스와 UI 항목이 해상도에 따라 상대적인 위치가 동일하다.


기본으로는 캐릭터 스프라이트가 버튼 위에 올라가있다.
씬에서 조절하면 버튼이 캐릭터 스프라이트 위로 가게 변경할 수 있다.
Render Mode - World Space
- 화면 해상도를 고정으로 사용해야 하는 경우. (16:9 해상도 고정)
- 카메라 사이즈에 맞게 캔버스를 조정해야 한다.
Rect Transform
앵커의 위치에 따라 캔버스의 크기가 변할 때 Text UI의 크기도 달라지는 것을 볼 수 있다. X 자 표시가 앵커의 위치이다.


Canvas Scaler

Canvas Scaler에서 Scale With Screen Size를 통해 1920x1080 해상도를 고정할 수 있다.
Match에서 Width, Height 값에 따라 폭과 높이 중 어떤 곳에 더 영향을 받을지 설정할 수 있다.
Screen.width, Screen.height 너비, 높이 출력

public class CanvasScript : MonoBehaviour
{
    void Start()
    {
        print("Width " + Screen.width);
        print("Height " + Screen.height);
    }
}
캔버스에 CanvasScript를 추가하여 스크린 너비와 높이를 출력하는 코드를 입력하였다.

Gameview 설정을 Full HD로 설정했기 때문에 해당 값이 잘 나오는 것을 볼 수 있다.

Free Aspect로 자유 시점으로 설정하면 Gameview 크기에 따라 출력 값이 달라지는 것을 볼 수 있다.

public class CanvasScript : MonoBehaviour
{
    void Start()
    {
        print("Width " + Screen.width);
        print("Height " + Screen.height);
        print(Camera.main.ViewportToScreenPoint(new Vector3(0, 0, 0)));
        print(Camera.main.ViewportToScreenPoint(new Vector3(1, 1, 0)));
    }
}
ViewportToScreenPoint를 이용하여 상대적인 위치로 스크린 값을 알아낼 수 있다. 왼쪽 아래가 (0, 0, 0), 오른쪽 위가 (1, 1, 1) 기준이다.

Text의 위치를 지정하기
public class CanvasScript : MonoBehaviour
{
    public TMP_Text myText;
    void Start()
    {
        print("Width " + Screen.width);
        print("Height " + Screen.height);
        print(Camera.main.ViewportToScreenPoint(new Vector3(0,0,0)));
        print(Camera.main.ViewportToScreenPoint(new Vector3(1, 1, 0)));
        myText.GetComponent <RectTransform>().position = Camera.main.ViewportToScreenPoint(new Vector3(0, 0, 0));
    }
}
myText 변수를 public으로 입력받고 ViewportToScreenPoint로 위치를 대입하면 해당 위치로 이동한다.

void Update 함수에 Text가 마우스를 따라가게 하면 실시간으로 계속 따라가게 할 수도 있다.
private void Update()
{
    myText.GetComponent<RectTransform>().position = Input.mousePosition;
}
'Unity > 내용 정리&Tip' 카테고리의 다른 글
| [Unity] Occlusion Culling, Overdraw, Sprite Atlas, Blend Tree, Set Pass Call, Batch, OBJ/FBX, NURBS/Polygon, Scriptable Object, 유니티 멀티쓰레드 오류, Euler 회전 문제점 정리 (4) | 2024.03.26 |
|---|---|
| [Unity] MeshSync 패키지 (Blender-Unity 실시간 싱크) (0) | 2024.03.26 |
| [Unity] Euler 회전과 Quaternion 회전 (0) | 2023.08.28 |
| [Unity] Tag와 Layer (0) | 2023.08.24 |
| [C#] Static 변수 / Static 함수 / Static 변수의 자기참조 (0) | 2023.08.24 |


