[SKKU DT] 27일차 -유니티 미니 프로젝트(로봇 팔 시뮬레이션)(2)
2023. 12. 5. 17:54ㆍSKKU DT
728x90
반응형
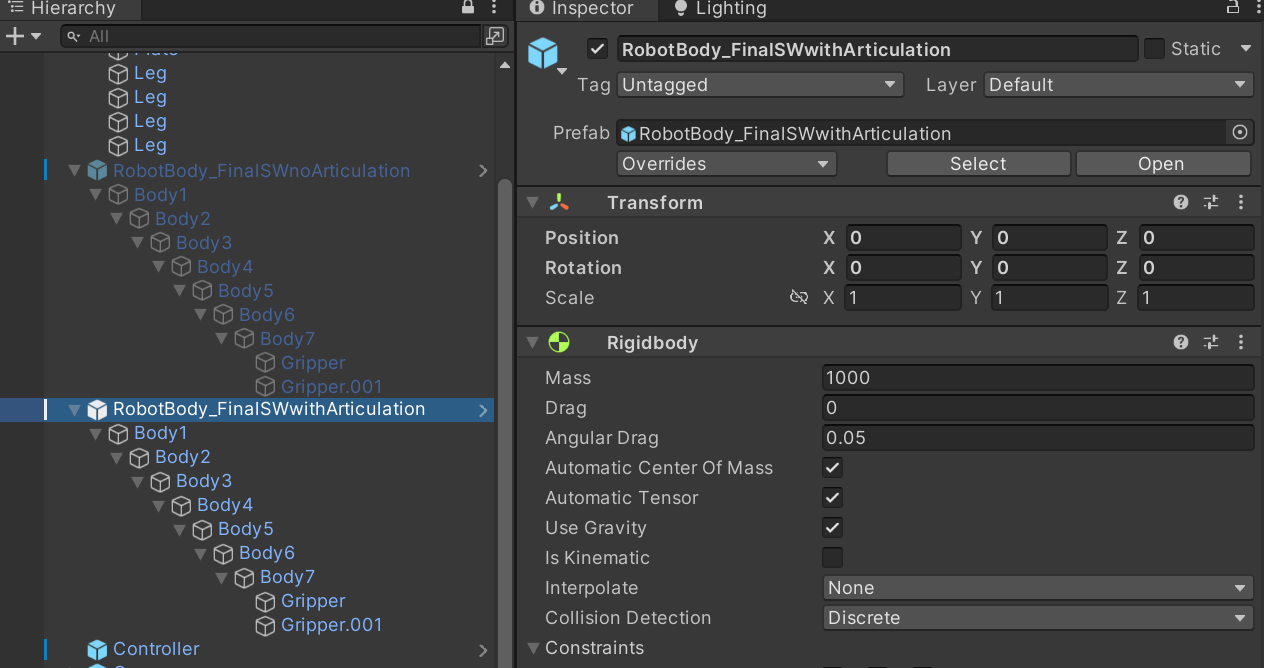
로봇 전체를 아우르는 프리팹에 Rigidbody를 넣어 물리가 작동되게 하였고, 마찬가지로 Rigidbody, collider가 들어가있는 큐브를 배치하여 그리퍼로 잡을 수 있게 하였다.

그리퍼 스크립트
using System.Collections;
using UnityEngine;

public class GripperController2 : MonoBehaviour
{
    public float speed = 0.000001f;
    private Vector3 startPosition;
    private Vector3 endPosition;

    // Start is called before the first frame update
    void Start()
    {
        startPosition = new Vector3(0f, 0.00032f, -0.000074f);
        endPosition = new Vector3(0f, 0.00032f, -0.000293f);
    }

    // Update is called once per frame
    void Update()
    {
        if (Input.GetKey(KeyCode.G))
        {
            MoveObject(Vector3.forward);  // G 키를 누르고 있을 때 지속적으로 이동
        }
        else if (Input.GetKey(KeyCode.H))
        {
            MoveObject(Vector3.back);  // H 키를 누르고 있을 때 지속적으로 이동
        }
    }

    void MoveObject(Vector3 direction)
    {
        float step = speed * Time.deltaTime;
        transform.localPosition += direction * step;
    }
}
누르고있는 동안 이동, 물리 적용으로 물체와 상호작용 가능
UIManager 스크립트(spacehee 作)
using System.Collections;
using System.Collections.Generic;
using UnityEngine;
using TMPro;

public class UiManager : MonoBehaviour
{
    public GameObject body2;
    public GameObject body3;
    public GameObject body4;
    public GameObject body5;
    public GameObject body6;
    public GameObject body7;

    //Body UI
    public TextMeshProUGUI bodyTwo;
    public TextMeshProUGUI bodyThree;
    public TextMeshProUGUI bodyFour;
    public TextMeshProUGUI bodyFive;
    public TextMeshProUGUI bodySix;
    public TextMeshProUGUI bodySeven;

    //각도
    public int bodyTwoAngle;
    public int bodyThreeAngle;
    public int bodyFourAngle;
    public int bodyFiveAngle;
    public int bodySixAngle;
    public int bodySevenAngle;
    // Start is called before the first frame update
    void Start()
    {
        bodyTwo.text = "Body2     " + ((int)body2.transform.localRotation.eulerAngles.z).ToString() + "°";
        bodyThree.text = "Body3     " + ((int)body3.transform.localRotation.eulerAngles.x).ToString() + "°";
        bodyFour.text = "Body4     " + ((int)body4.transform.localRotation.eulerAngles.x).ToString() + "°";
        bodyFive.text = "Body5     " + ((int)body5.transform.localRotation.eulerAngles.y).ToString() + "°";
        bodySix.text = "Body6     " + ((int)body6.transform.localRotation.eulerAngles.x -270).ToString() + "°";
        bodySeven.text = "Body7     " + ((int)body7.transform.localRotation.eulerAngles.y).ToString() + "°" ;
    }

    void Update()
    {
        //Debug.Log(body2.transform.rotation.eulerAngles);
        bodyTwo.text = "Body2     " + ((int)body2.transform.localRotation.eulerAngles.z).ToString() + "°";
        //Debug.Log(body3.transform.rotation.eulerAngles);
        bodyThree.text = "Body3     " + ((int)body3.transform.localRotation.eulerAngles.x).ToString() +"°";
        //Debug.Log(body4.transform.rotation.eulerAngles);
        bodyFour.text = "Body4     " + ((int)body4.transform.localRotation.eulerAngles.x).ToString() +"°";
        //Debug.Log(body5.transform.rotation.eulerAngles);
        bodyFive.text = "Body5     " + ((int)body5.transform.localRotation.eulerAngles.y).ToString() +"°";
        //Debug.Log(body6.transform.rotation.eulerAngles);
        bodySix.text = "Body6     " + ((int)body6.transform.localRotation.eulerAngles.x -270).ToString() +"°";
        //Debug.Log(body7.transform.rotation.eulerAngles);
        bodySeven.text = "Body7     " + ((int)body7.transform.localRotation.eulerAngles.y).ToString() +"°";
    }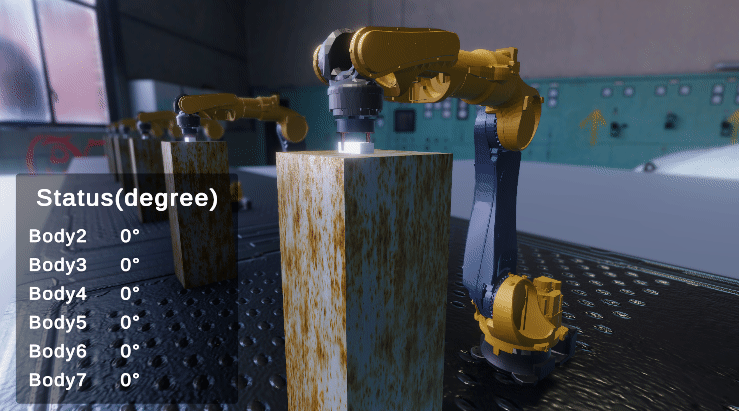
}- (int)를 이용해서 소수점 아래 많은 숫자 나오는 것을 방지
- degree를 넣어서 몇 도인지 표시
- localRotation을 이용해서 글로벌 좌표 값이 아닌 로컬 좌표 값으로 실제 Inspector 창에 뜨는 숫자를 그대로 가져올 수 있었다.
게임 화면에서는 이런 UI로 보여진다.

포스트 프로세싱 사용

카메라에 블러 효과 추가
예시 영상
728x90
반응형
'SKKU DT' 카테고리의 다른 글
| [SKKU DT] 29일차 -유니티(Unity)와 아두이노(Arduino) 연결하기 (2) | 2023.12.08 |
|---|---|
| [SKKU DT] 28일차 -유니티 네트워크(System.IO, JSON, Xml, CSV), API, 에셋 번들 (2) | 2023.12.07 |
| [SKKU DT] 26일차 -유니티 미니 프로젝트(로봇 팔 시뮬레이션) (1) | 2023.12.05 |
| [SKKU DT] 25일차 -유니티 C# 튜플, 인터페이스, 추상클래스, 프로퍼티, 레코드, 무명 형식, 배열 (1) | 2023.12.01 |
| [SKKU DT] 24일차 -유니티 C# 클래스 (생성자, this, static, 상속, 오버라이딩, 구조체) (1) | 2023.11.30 |