2023. 12. 19. 19:03ㆍSKKU DT
어제 끝날 때 중지했던 VM 인스턴스 시작/재개

예제 -정수 하나를 입력받고 입력 받은 숫자가 짝수이면 입력 받은 숫자만큼 "안녕?" 출력
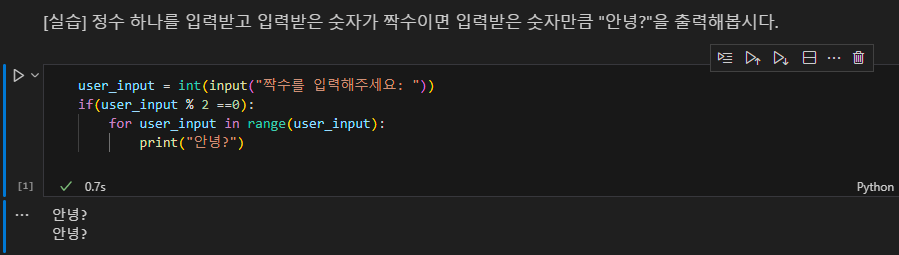
user_input = int(input("짝수를 입력해주세요: "))
if(user_input % 2 ==0):
    for user_input in range(user_input):
        print("안녕?")
예제 -for 문으로 리스트 합 구하기
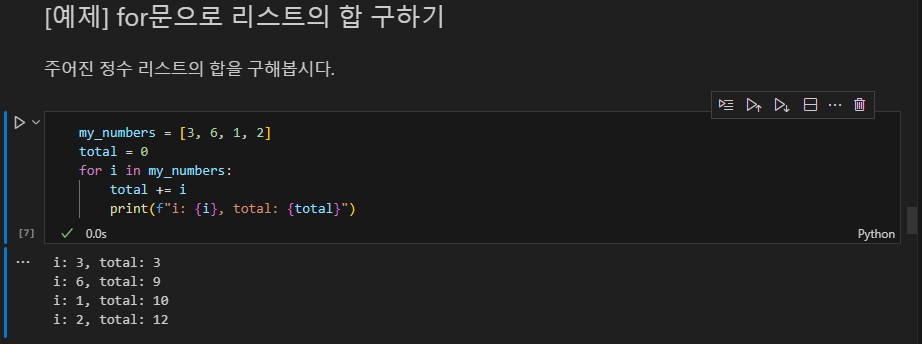
my_numbers = [3, 6, 1, 2]
total = 0
for i in my_numbers:
    total += i
    print(f"i: {i}, total: {total}")
예제 -짝수의 합만 계산하기

my_numbers = [3, 6, 1, 2]

for i in my_numbers:
    if i % 2 == 0:
        print("짝수: ", i)
        total += 1
print(f"total: {total}")
아래와 같이 표현할 수도 있다.
my_numbers = [3, 6, 1, 2]

sum([i for i in my_numbers if i % 2 == 0])
예제 -주어진 중첩 리스트의 모든 정수의 합 구하기
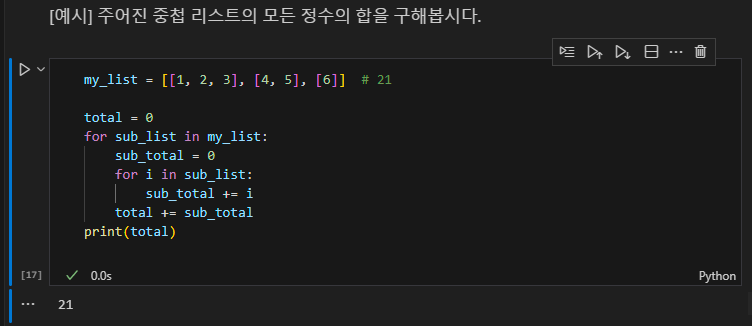
my_list = [[1, 2, 3], [4, 5], [6]]  # 21

total = 0
for sub_list in my_list:
    sub_total = 0
    for i in sub_list:
        sub_total += i
    total += sub_total
print(total)
*Ctrl + , 하면 Settings 뜨고 Line Numbers를 켜면 라인 넘버를 볼 수 있다.

예제 -리스트가 아닌 원소가 추가된 경우
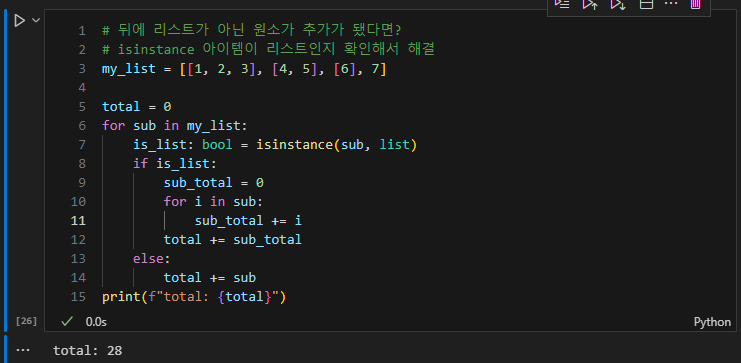
# 뒤에 리스트가 아닌 원소가 추가가 됐다면?
# isinstance 아이템이 리스트인지 확인해서 해결
my_list = [[1, 2, 3], [4, 5], [6], 7]

total = 0
for sub in my_list:
    is_list: bool = isinstance(sub, list)
    if is_list:
        sub_total = 0
        for i in sub:
            sub_total += i
        total += sub_total
    else:
        total += sub
print(f"total: {total}")
리스트면 반복문으로, 리스트가 아니면 그냥 else에서 total에 바로 더한다.
Python Visualization
https://pythontutor.com/visualize.html#mode=edit
Python Tutor code visualizer: Visualize code in Python, JavaScript, C, C++, and Java
Please wait ... your code is running (up to 10 seconds) Write code in Python 3.11 [newest version, latest features not tested yet] Python 3.6 [reliable stable version, select 3.11 for newest] Java C (C17 + GNU extensions) C++ (C++20 + GNU extensions) JavaS
pythontutor.com
파이썬 코드의 흐름을 시각화해서 보여주는 웹사이트이다.
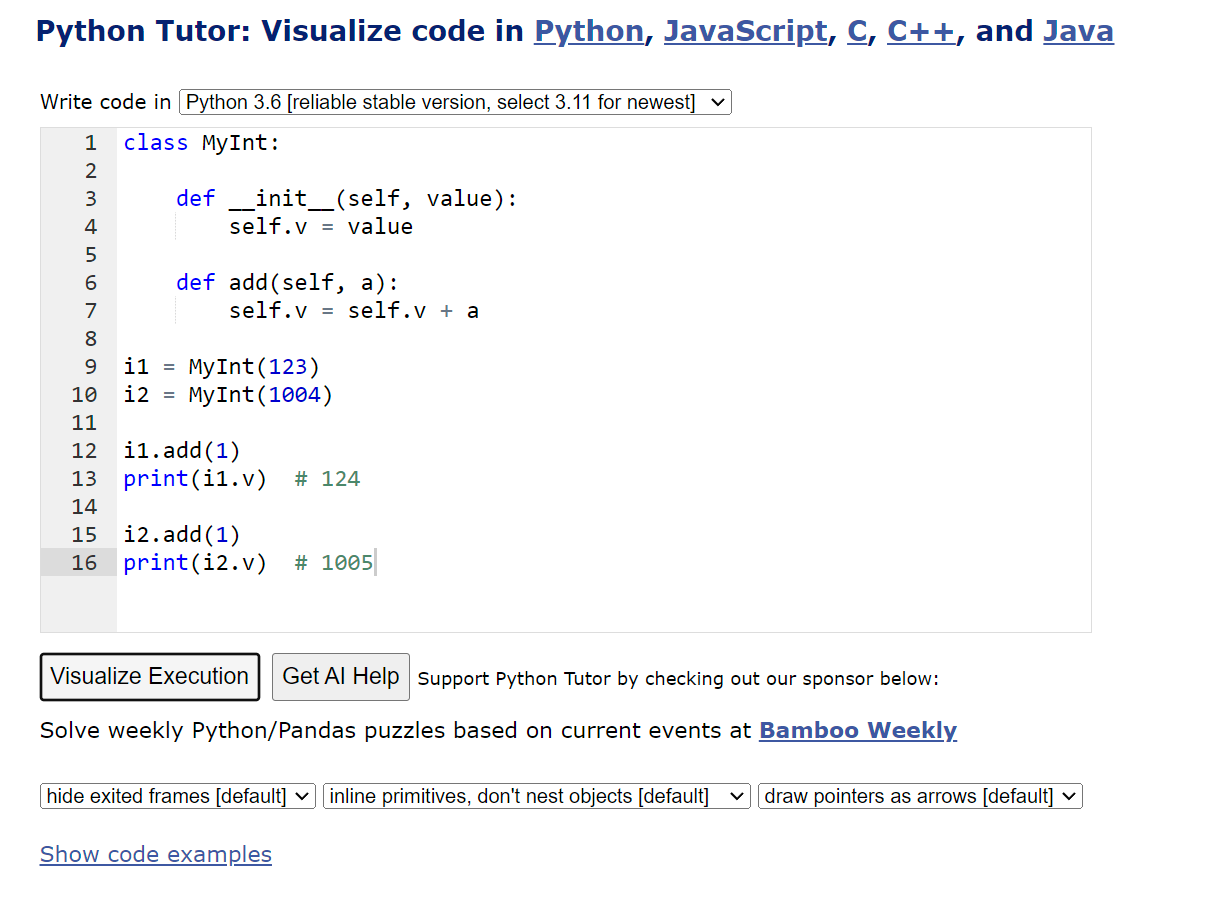
코드를 넣고 Visualize Execution을 누르면 코드의 흐름을 시각적으로 볼 수 있다.

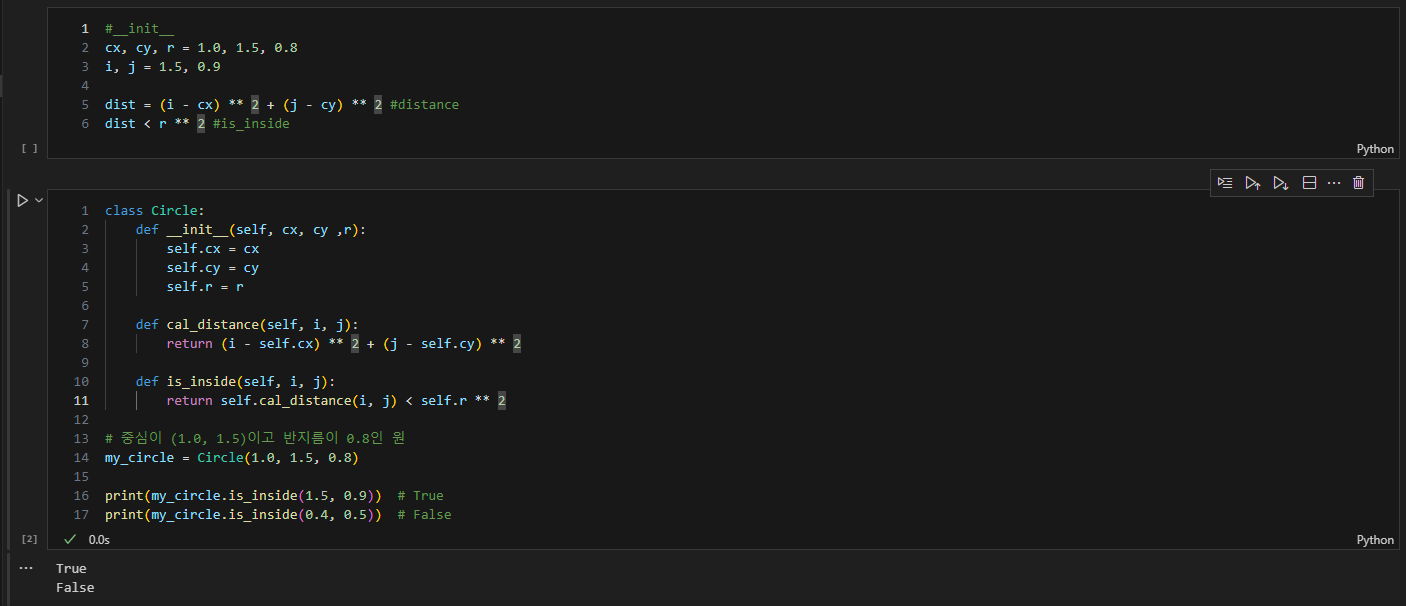
예제 -원 클래스 만들기

class Circle:
    def __init__(self, cx, cy ,r):
        self.cx = cx
        self.cy = cy
        self.r = r

    def cal_distance(self, i, j):
        return (i - self.cx) ** 2 + (j - self.cy) ** 2

    def is_inside(self, i, j):
        return self.cal_distance(i, j) < self.r ** 2

# 중심이 (1.0, 1.5)이고 반지름이 0.8인 원
my_circle = Circle(1.0, 1.5, 0.8)

print(my_circle.is_inside(1.5, 0.9))  # True
print(my_circle.is_inside(0.4, 0.5))  # False
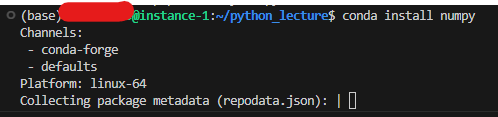
conda 환경에서 numpy 설치하기
터미널에서 "conda install numpy"로 설치한다.
예제 -원 그리기
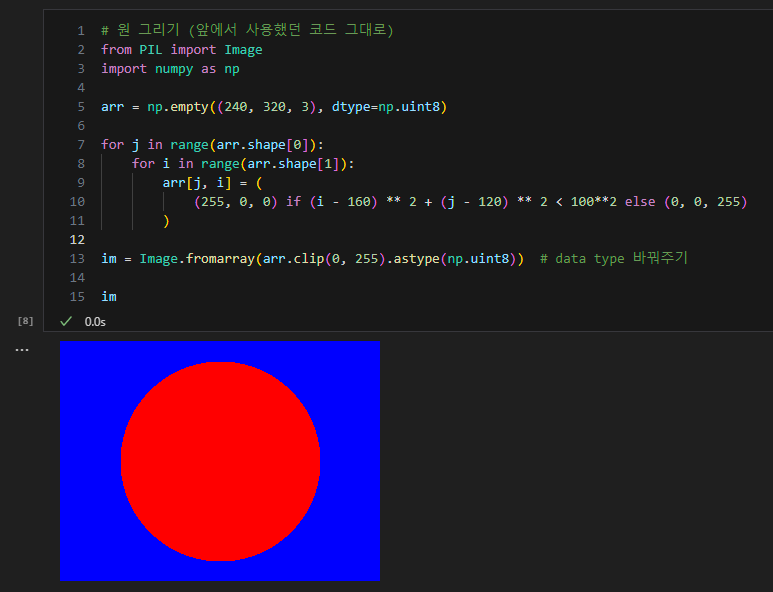
# 원 그리기 (앞에서 사용했던 코드 그대로)
from PIL import Image
import numpy as np

arr = np.empty((240, 320, 3), dtype=np.uint8)

for j in range(arr.shape[0]):
    for i in range(arr.shape[1]):
        arr[j, i] = (
            (255, 0, 0) if (i - 160) ** 2 + (j - 120) ** 2 < 100**2 else (0, 0, 255)
        )

im = Image.fromarray(arr.clip(0, 255).astype(np.uint8))  # data type 바꿔주기

im
클래스로 표현하면 아래와 같다.

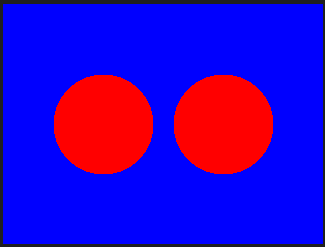
# 원 그리기
from PIL import Image
import numpy as np


class Circle:
    def __init__(self, cx, cy ,r):
        self.cx = cx
        self.cy = cy
        self.r = r

    def cal_distance(self, i, j):
        return (i - self.cx) ** 2 + (j - self.cy) ** 2

    def is_inside(self, i, j):
        return self.cal_distance(i, j) < self.r ** 2

    def draw(self, arr):
        for j in range(arr.shape[0]):
            for i in range(arr.shape[1]):
                if self.is_inside(i, j):
                    arr[j, i] = (255, 0, 0)
        return arr


c1 = Circle(100, 120, 50)
c2 = Circle(220, 120, 50)

# 배경을 파란색으로 초기화
arr = np.full((240, 320, 3), (0, 0, 255), dtype=np.uint8)

arr = c1.draw(arr)
arr = c2.draw(arr)

im = Image.fromarray(arr.clip(0, 255).astype(np.uint8))  # data type 바꿔주기

im
Streamlit
배포하는 기능을 가지고 있다.
Streamlit • A faster way to build and share data apps
Streamlit is an open-source Python framework for machine learning and data science teams. Create interactive data apps in minutes.
streamlit.io
터미널에서 콘다로 만들기
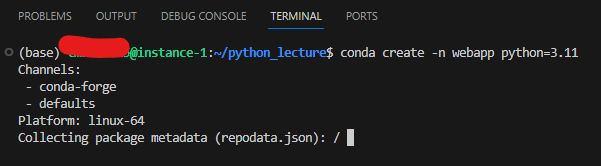

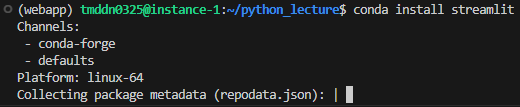
port 8000번을 통해 배포하므로 해당 포트를 열어야 한다.
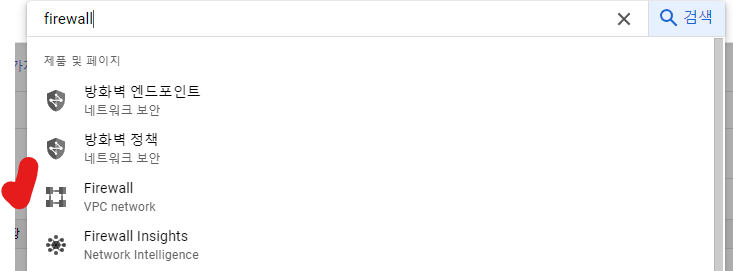
이름 누르기, 수정


8501, 8000 추가

conda list | grep streamlit을 치면 설치가 된 것을 볼 수 있다.

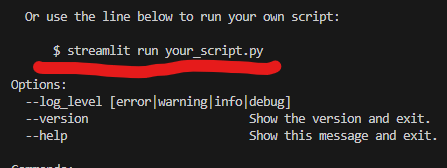
스크립트를 쓰는 법은 streamline을 입력하면 나온다.
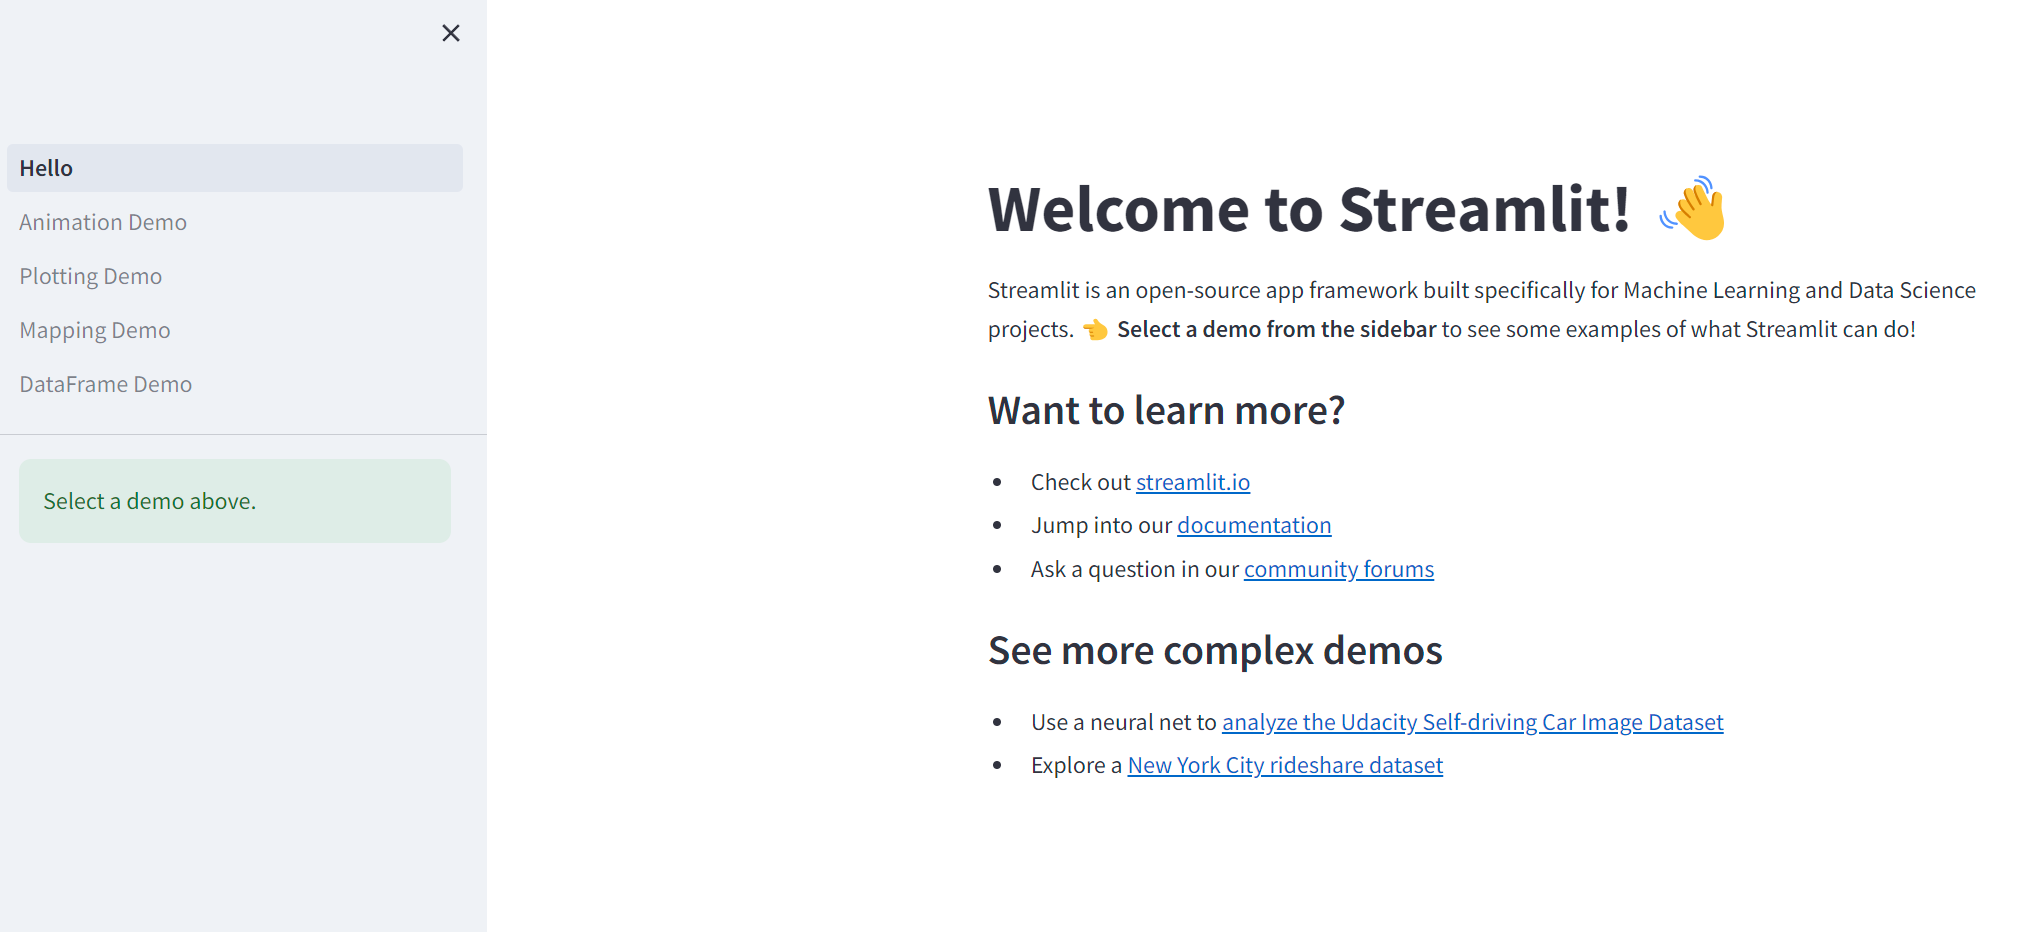
Terminal에 streamline hello를 입력하고 External URL에 마우스 올려놓고 Follow link를 누르면 포트를 통해서 페이지가 열린다.

현재 폴더 아래에 스크립트를 열기 위해서는 다음과 같은 코드를 쓰면 된다.

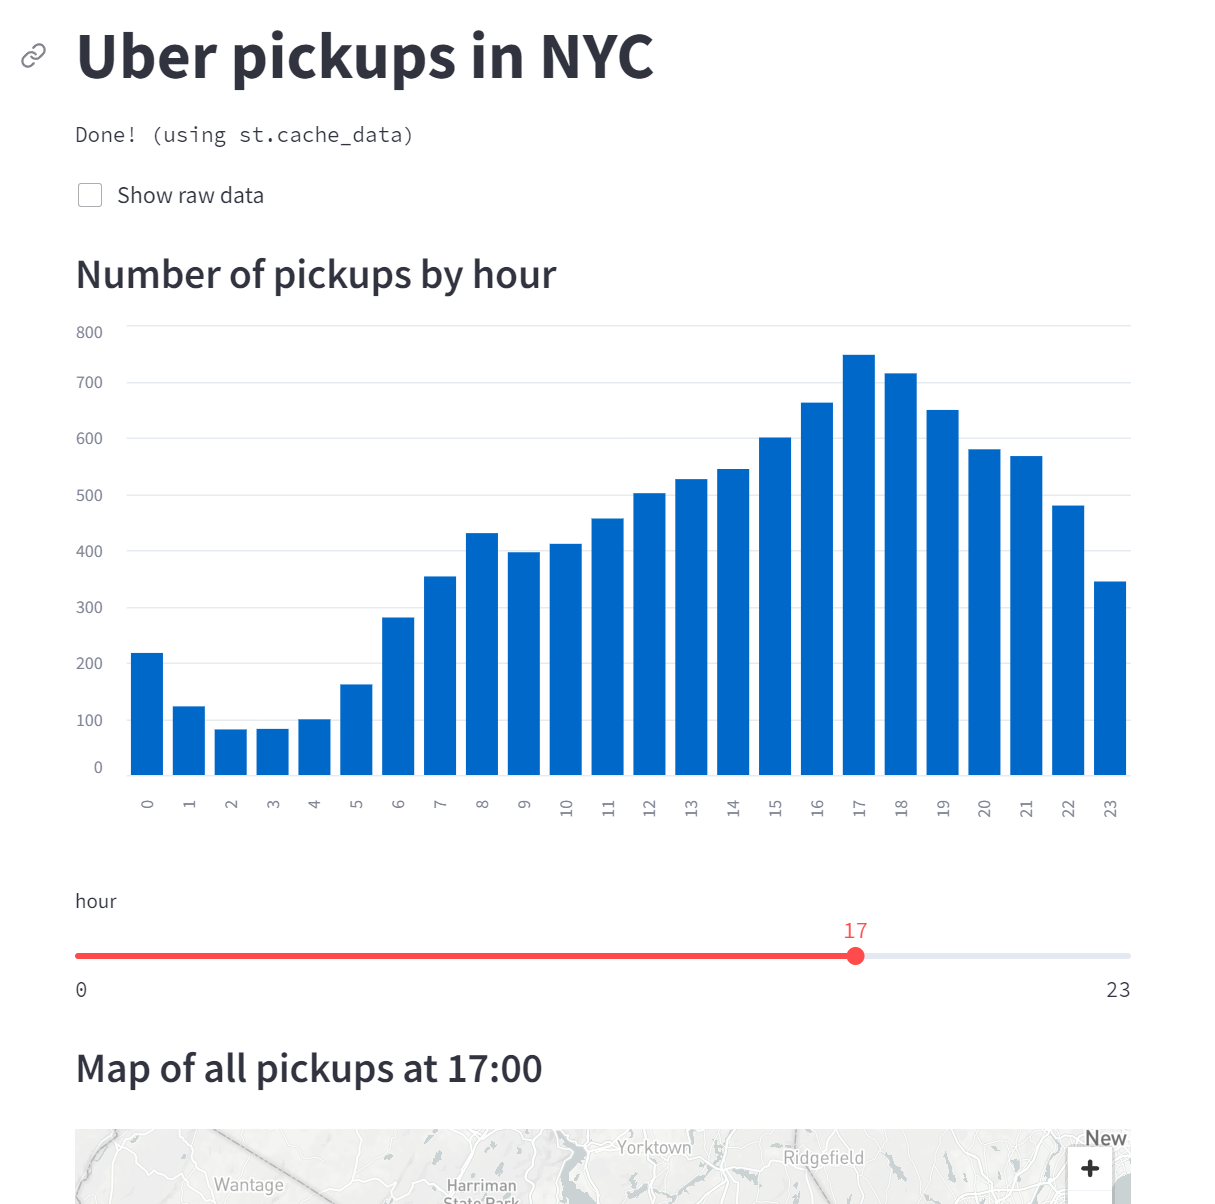
External URL을 Ctrl + 좌클릭 하면 아래의 페이지가 뜬다.
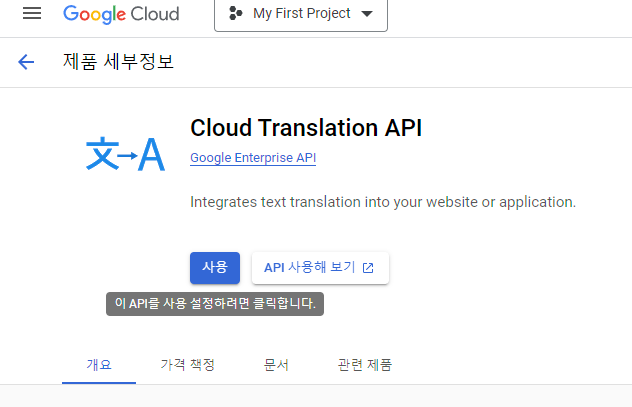
Google Translation 사용
구글 Console에서 cloud translation 검색
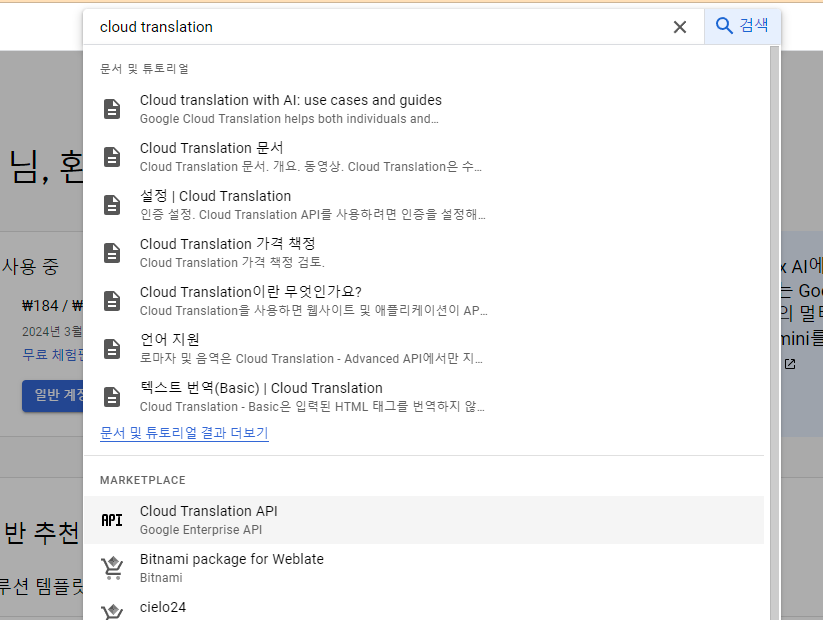
[사용] 클릭
터미널에서, 아래와 같이 진행한다.

Y를 하고 진행하면 링크가 나오며 계속, 승인을 눌러 키를 받는다.


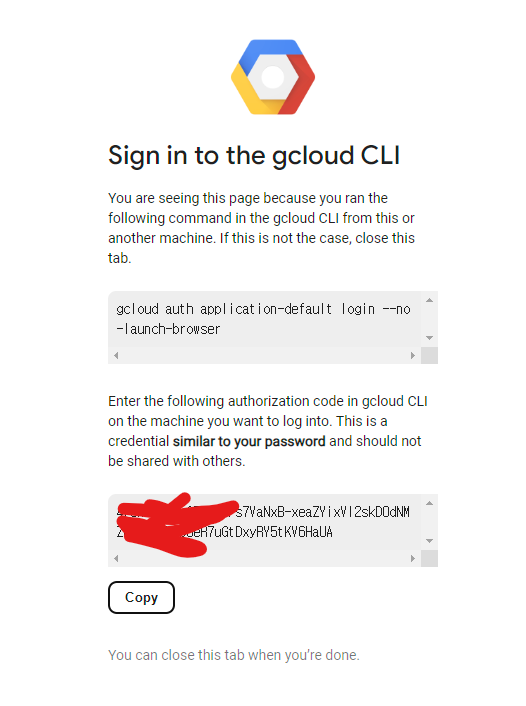
받은 키를 Enter authorization code에 넣고 엔터

google-cloud-translate 인스톨

아까 키를 넣어서 받은 프로젝트 이름을 PROJECT_ID에 넣고 아래의 코드를 실행하면 번역이 된다.
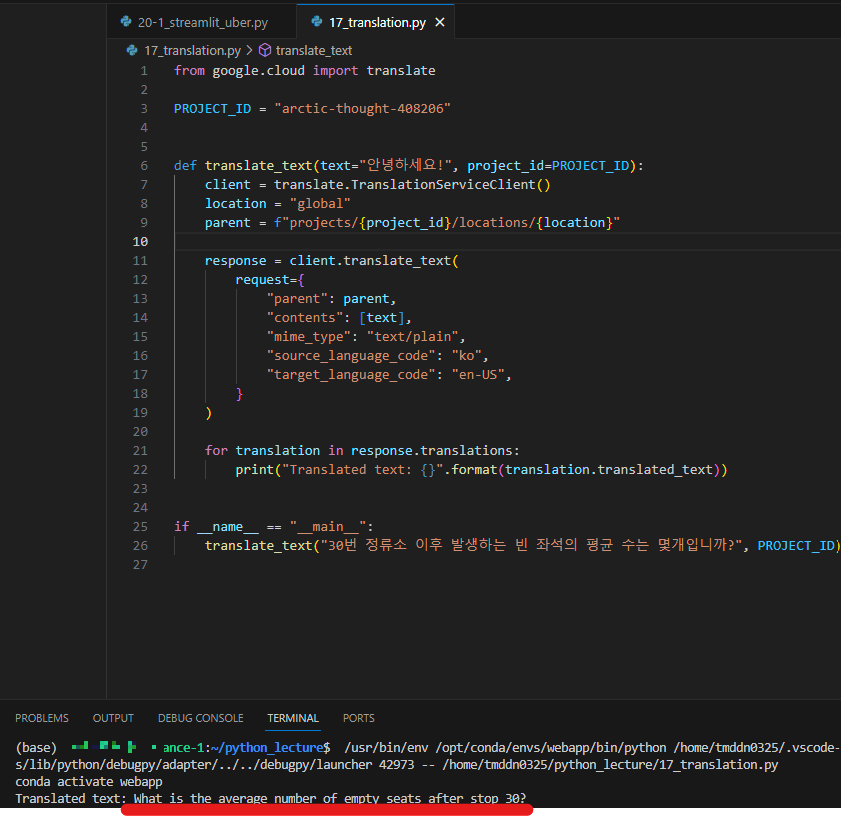
from google.cloud import translate

PROJECT_ID = "arctic-thought-408206"


def translate_text(text="안녕하세요!", project_id=PROJECT_ID):
    client = translate.TranslationServiceClient()
    location = "global"
    parent = f"projects/{project_id}/locations/{location}"

    response = client.translate_text(
        request={
            "parent": parent,
            "contents": [text],
            "mime_type": "text/plain",
            "source_language_code": "ko",
            "target_language_code": "en-US",
        }
    )

    for translation in response.translations:
        print("Translated text: {}".format(translation.translated_text))


if __name__ == "__main__":
    translate_text("30번 정류소 이후 발생하는 빈 좌석의 평균 수는 몇개입니까?", PROJECT_ID)
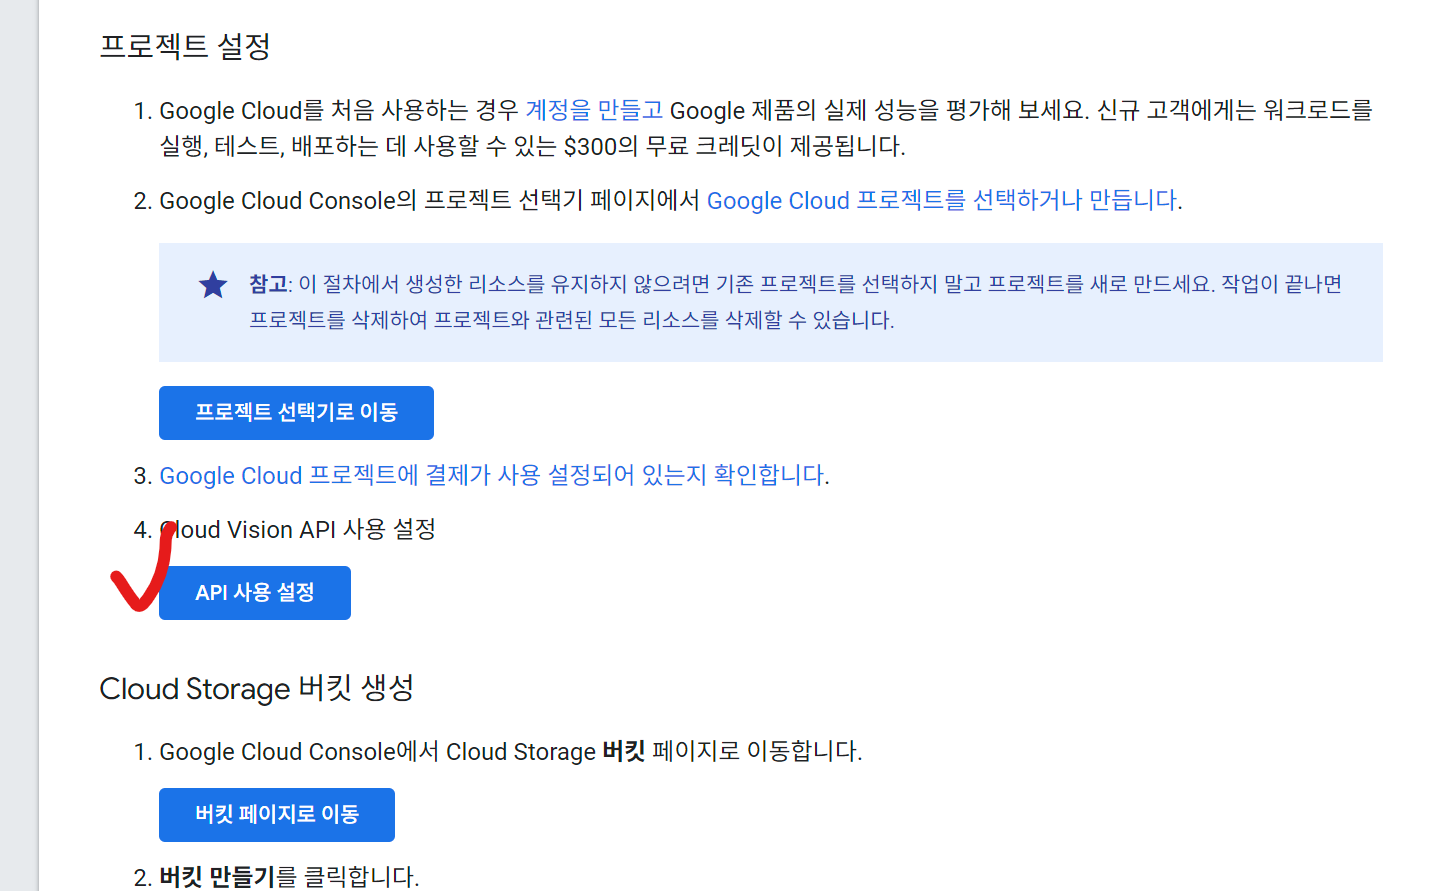
Google Vision
아래의 링크에서 API를 사용으로 설정한다.
https://cloud.google.com/vision/docs/detect-labels-image-api?hl=ko
빠른 시작: Cloud Vision API를 사용하여 이미지에서 라벨 인식 | Google Cloud
Cloud Vision API를 사용해서 Cloud Storage 버킷에 저장된 공개 이미지에서 라벨을 감지하는 방법을 알아봅니다.
cloud.google.com

터미널에서 pip install google-cloud-vision 인스톨

그림 파일을 볼 수 있는 링크
https://cloud.google.com/vision/docs/object-localizer?hl=ko#detect_objects_in_a_local_image
여러 객체 감지 | Cloud Vision API | Google Cloud
의견 보내기 여러 객체 감지 컬렉션을 사용해 정리하기 내 환경설정을 기준으로 콘텐츠를 저장하고 분류하세요. 참고: Vision API는 현재 모든 기능에 오프라인 비동기 배치 이미지 주석을 지원합
cloud.google.com
이미지의 주소를 복사한다.
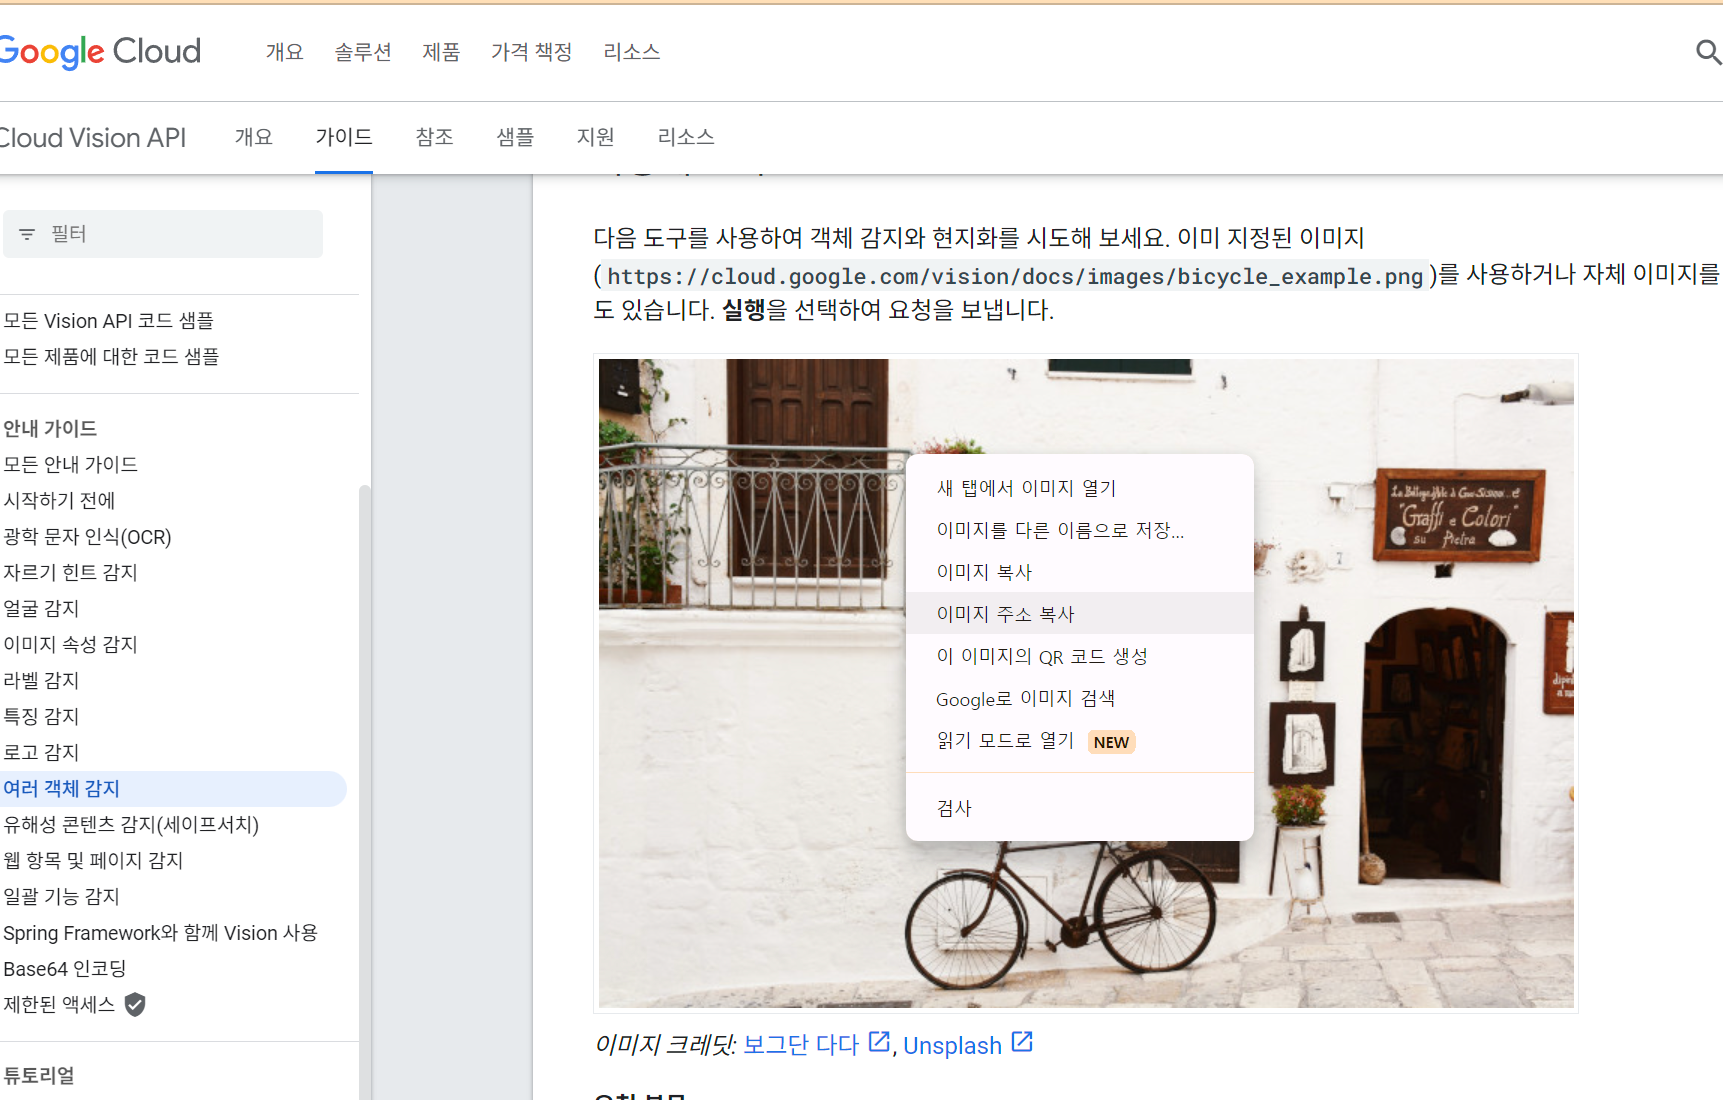
https://cloud.google.com/static/vision/docs/images/bicycle_original.jpeg?hl=ko
아래와 같이 코드를 쓰면 목록에 그림 파일이 생긴다.


python3 19_vision.py를 입력하면 어떤 물체들을 인식했는지 볼 수 있다.

Home
Explore a complete guide to Ultralytics YOLOv8, a high-speed, high-accuracy object detection & image segmentation model. Installation, prediction, training tutorials and more.
docs.ultralytics.com
Yolo라는 모델을 생성해서 스스로 학습시킬 수도 있다.
Supabase
Supabase에 Github 계정으로 가입한다.
Supabase | The Open Source Firebase Alternative
Build production-grade applications with a Postgres database, Authentication, instant APIs, Realtime, Functions, Storage and Vector embeddings. Start for free.
supabase.com
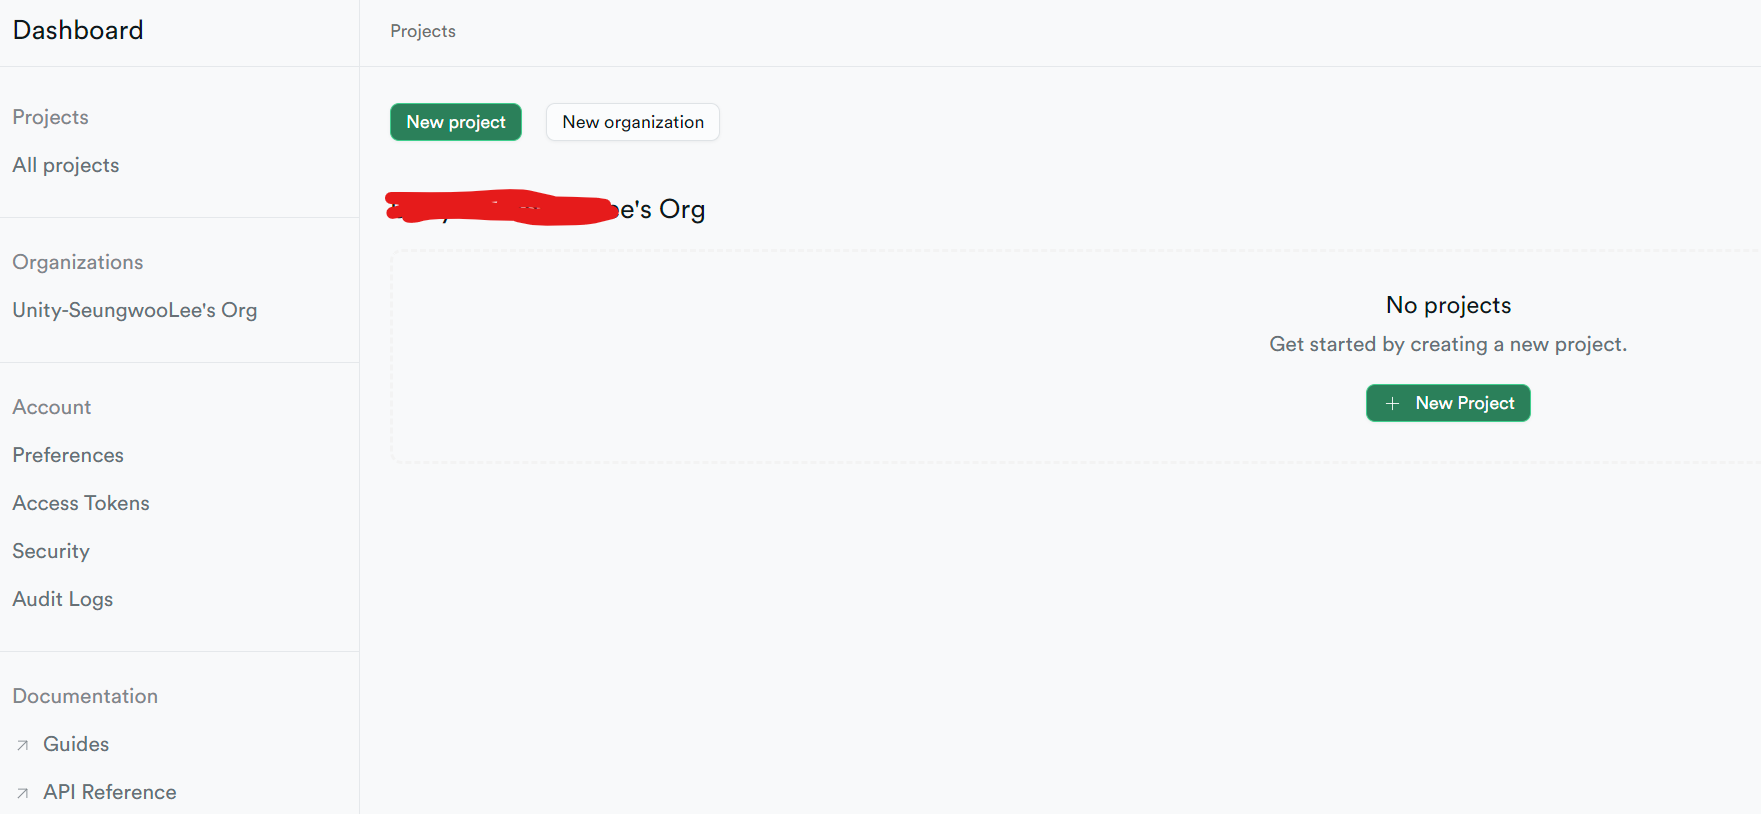
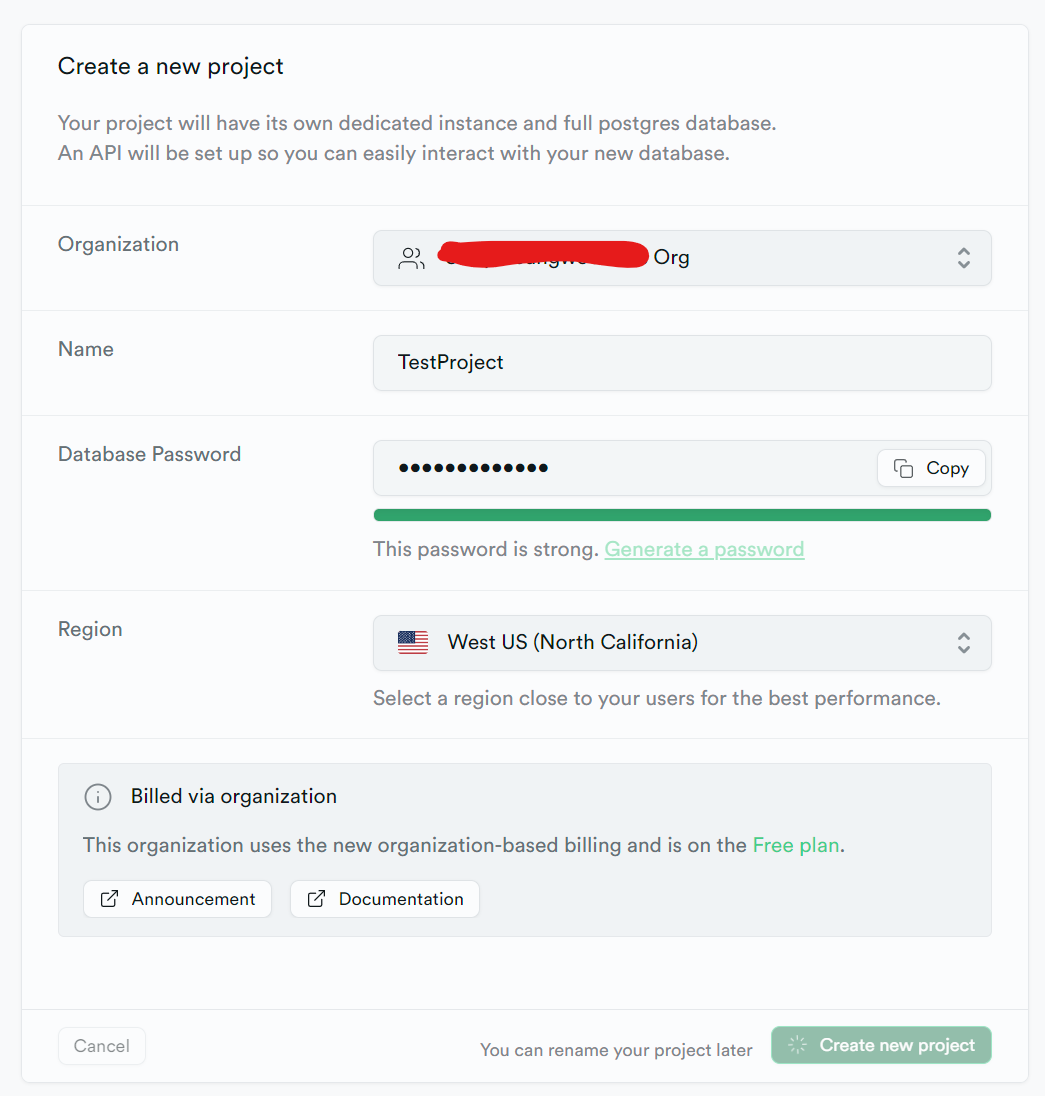
새 프로젝트를 생성한다.
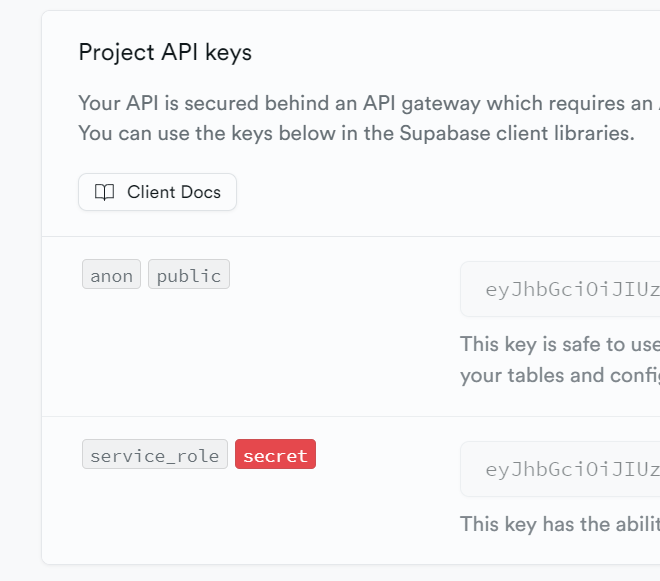
Private key 복사

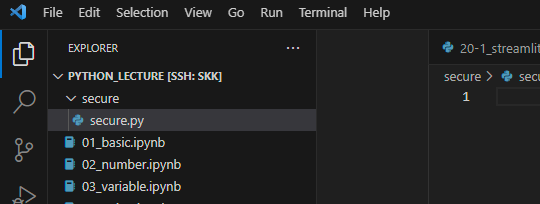
secure 폴더를 하나 만들고 secure.py 파일 생성
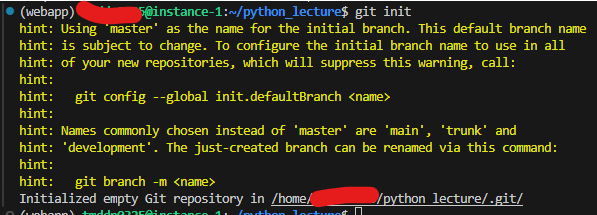
터미널에서 git init으로 깃 파일 생성
Source Control에서 만든 파이썬 파일을 마우스 오른쪽 클릭해서 Add to .gitignore 한다.
secure를 버전 변화에 반영하지 않는다는 뜻.

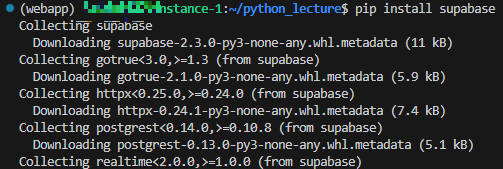
pip install supabase 설치
Supabase에서 Table 생성
